

For more information on what a Signer is, refer to the concepts page.
React Native Signer setup guide
Setting up the React Native Signer is similar to setting up the React Signer with a few extra steps.
Pre-requisites
- React Native version 0.76 or later
- iOS Minumum Deployment Target: 17.0
- Hermes and Fabric must be enabled (if using expo these are on by default)
- The Signer package requires you to be on React Native's new architecture. For information on how to enable it in your Expo project, check their documentation.
- The Signer package is incompatible with Expo Go and as a result, you'd need to use a Development Build. Check the Expo Development Builds documentation for more information.
Dashboard Setup
-
Get your API key by creating a new app in your Alchemy Dashboard
-
Create a new account config in your Account Kit Dashboard
a. Apply the config to your app from step 1
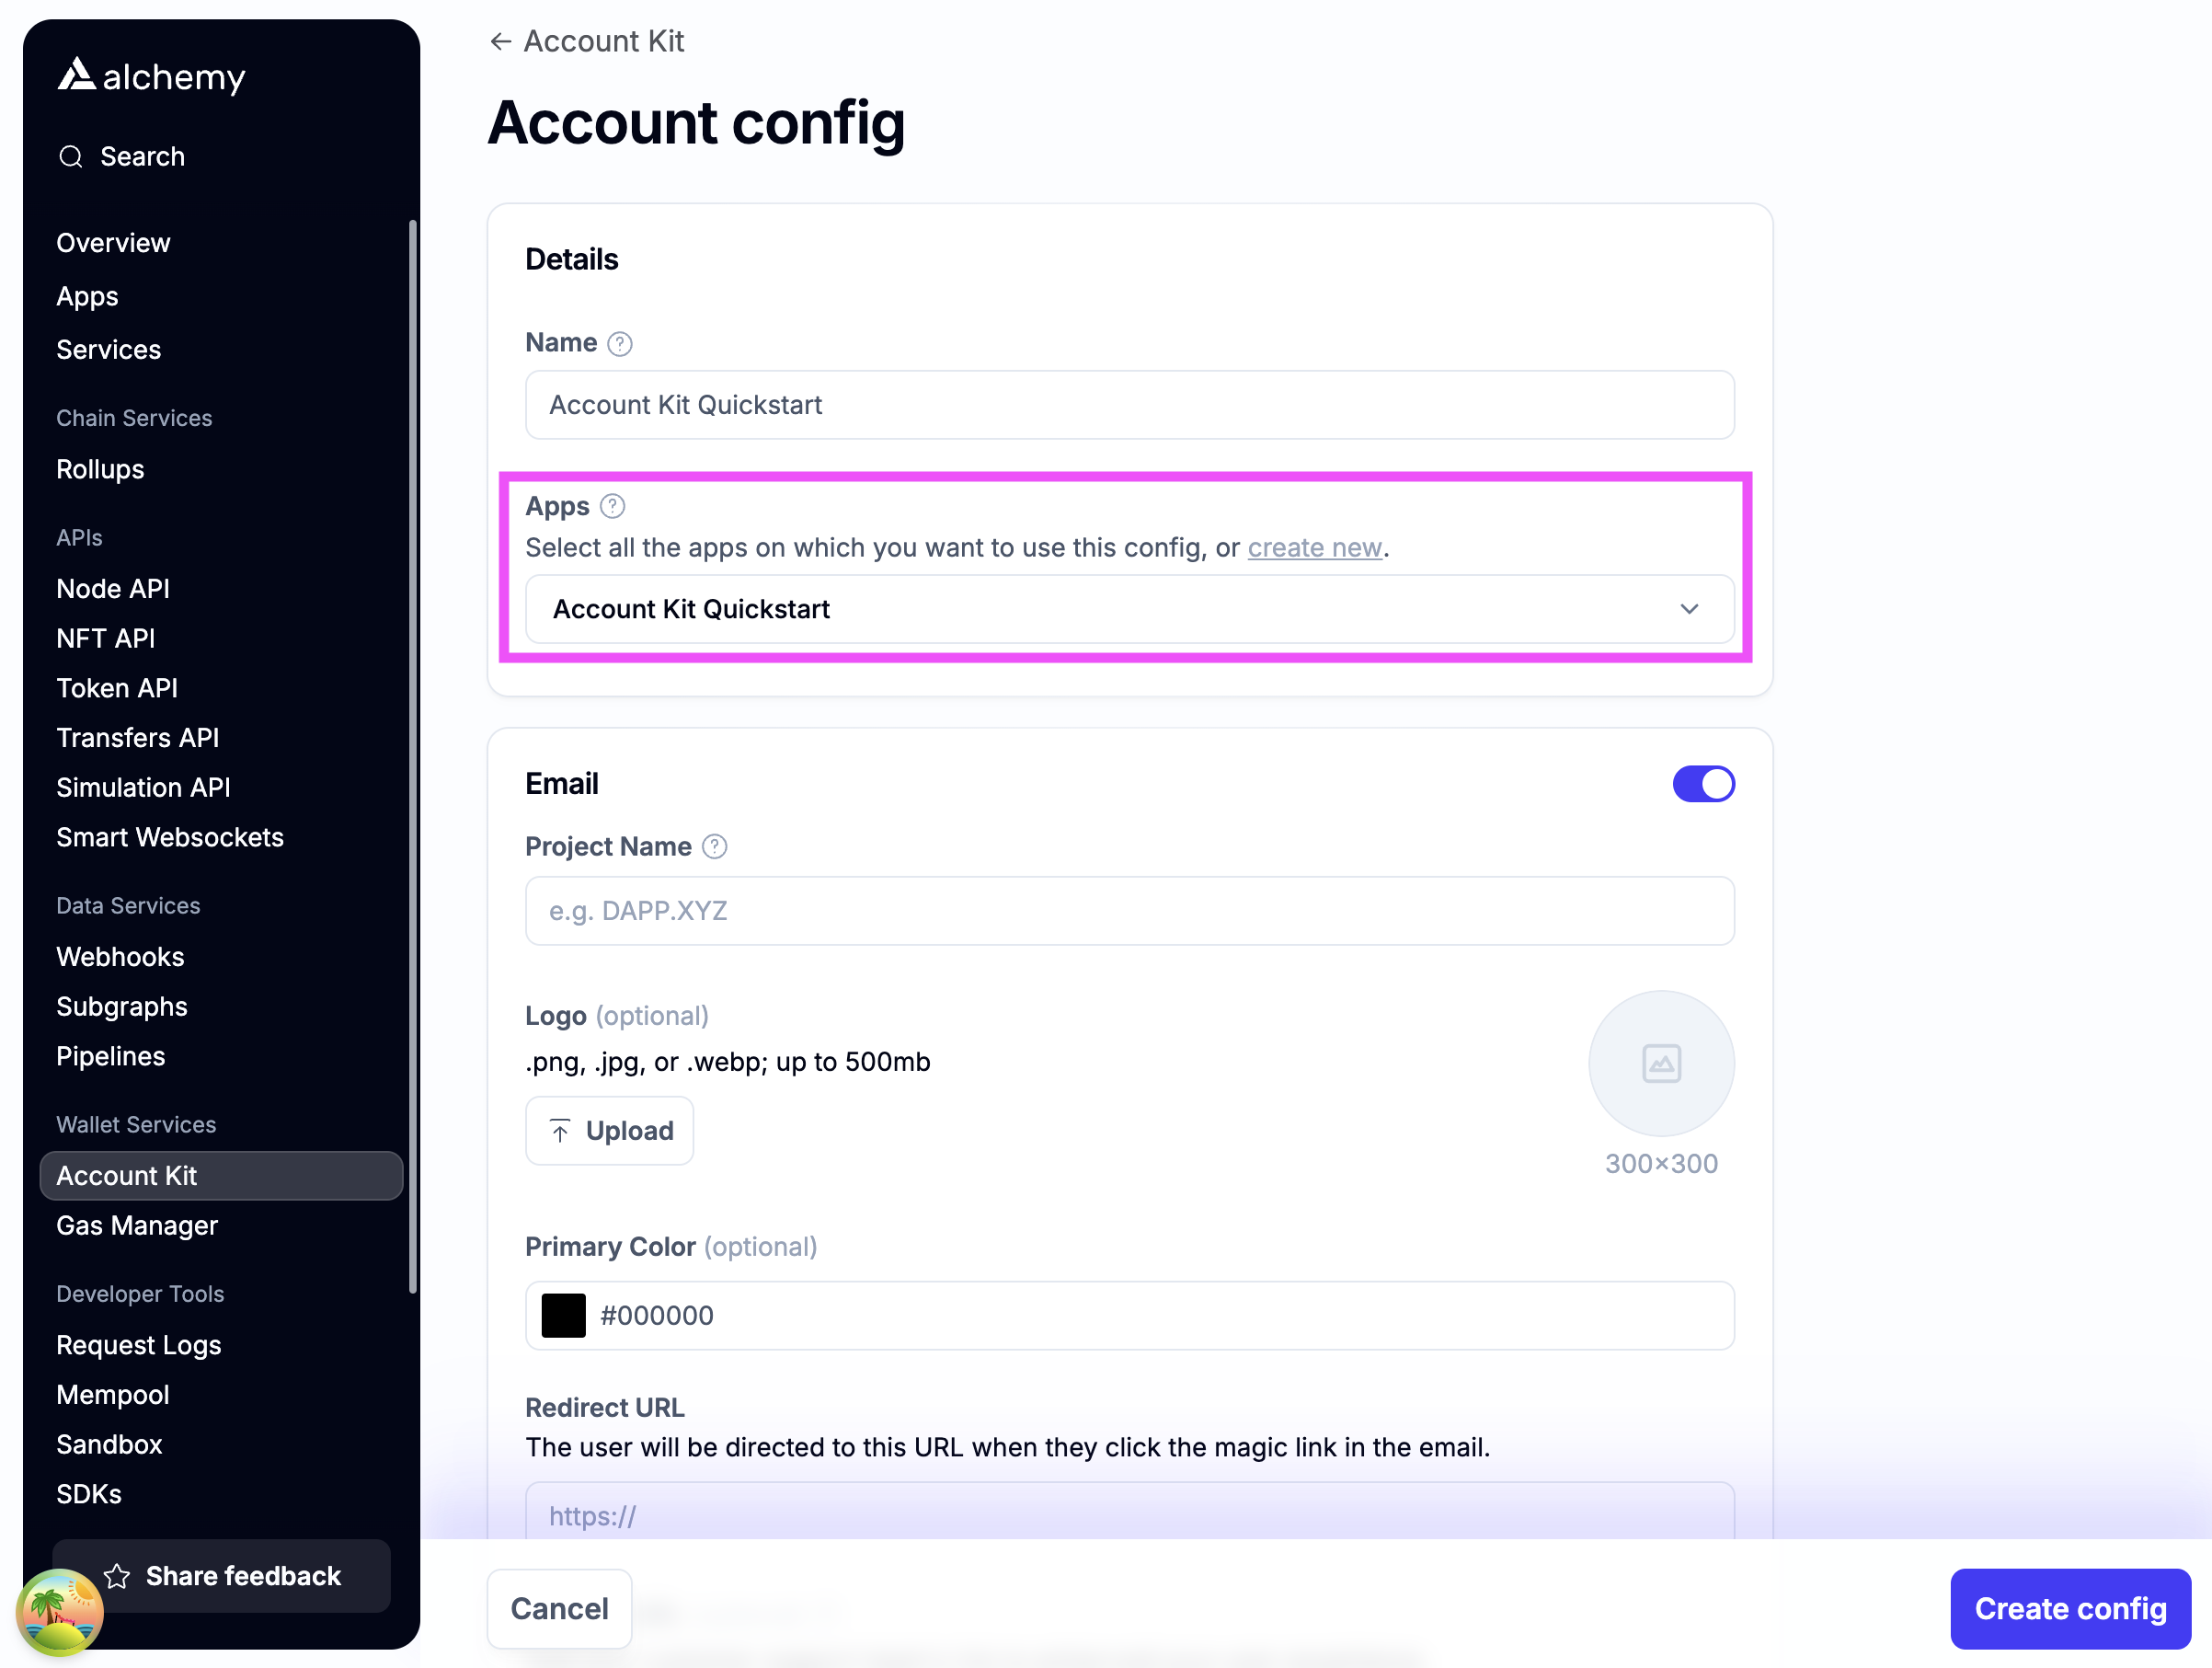
b. Enable authentication methods you want to support.
Email auth (OTP)
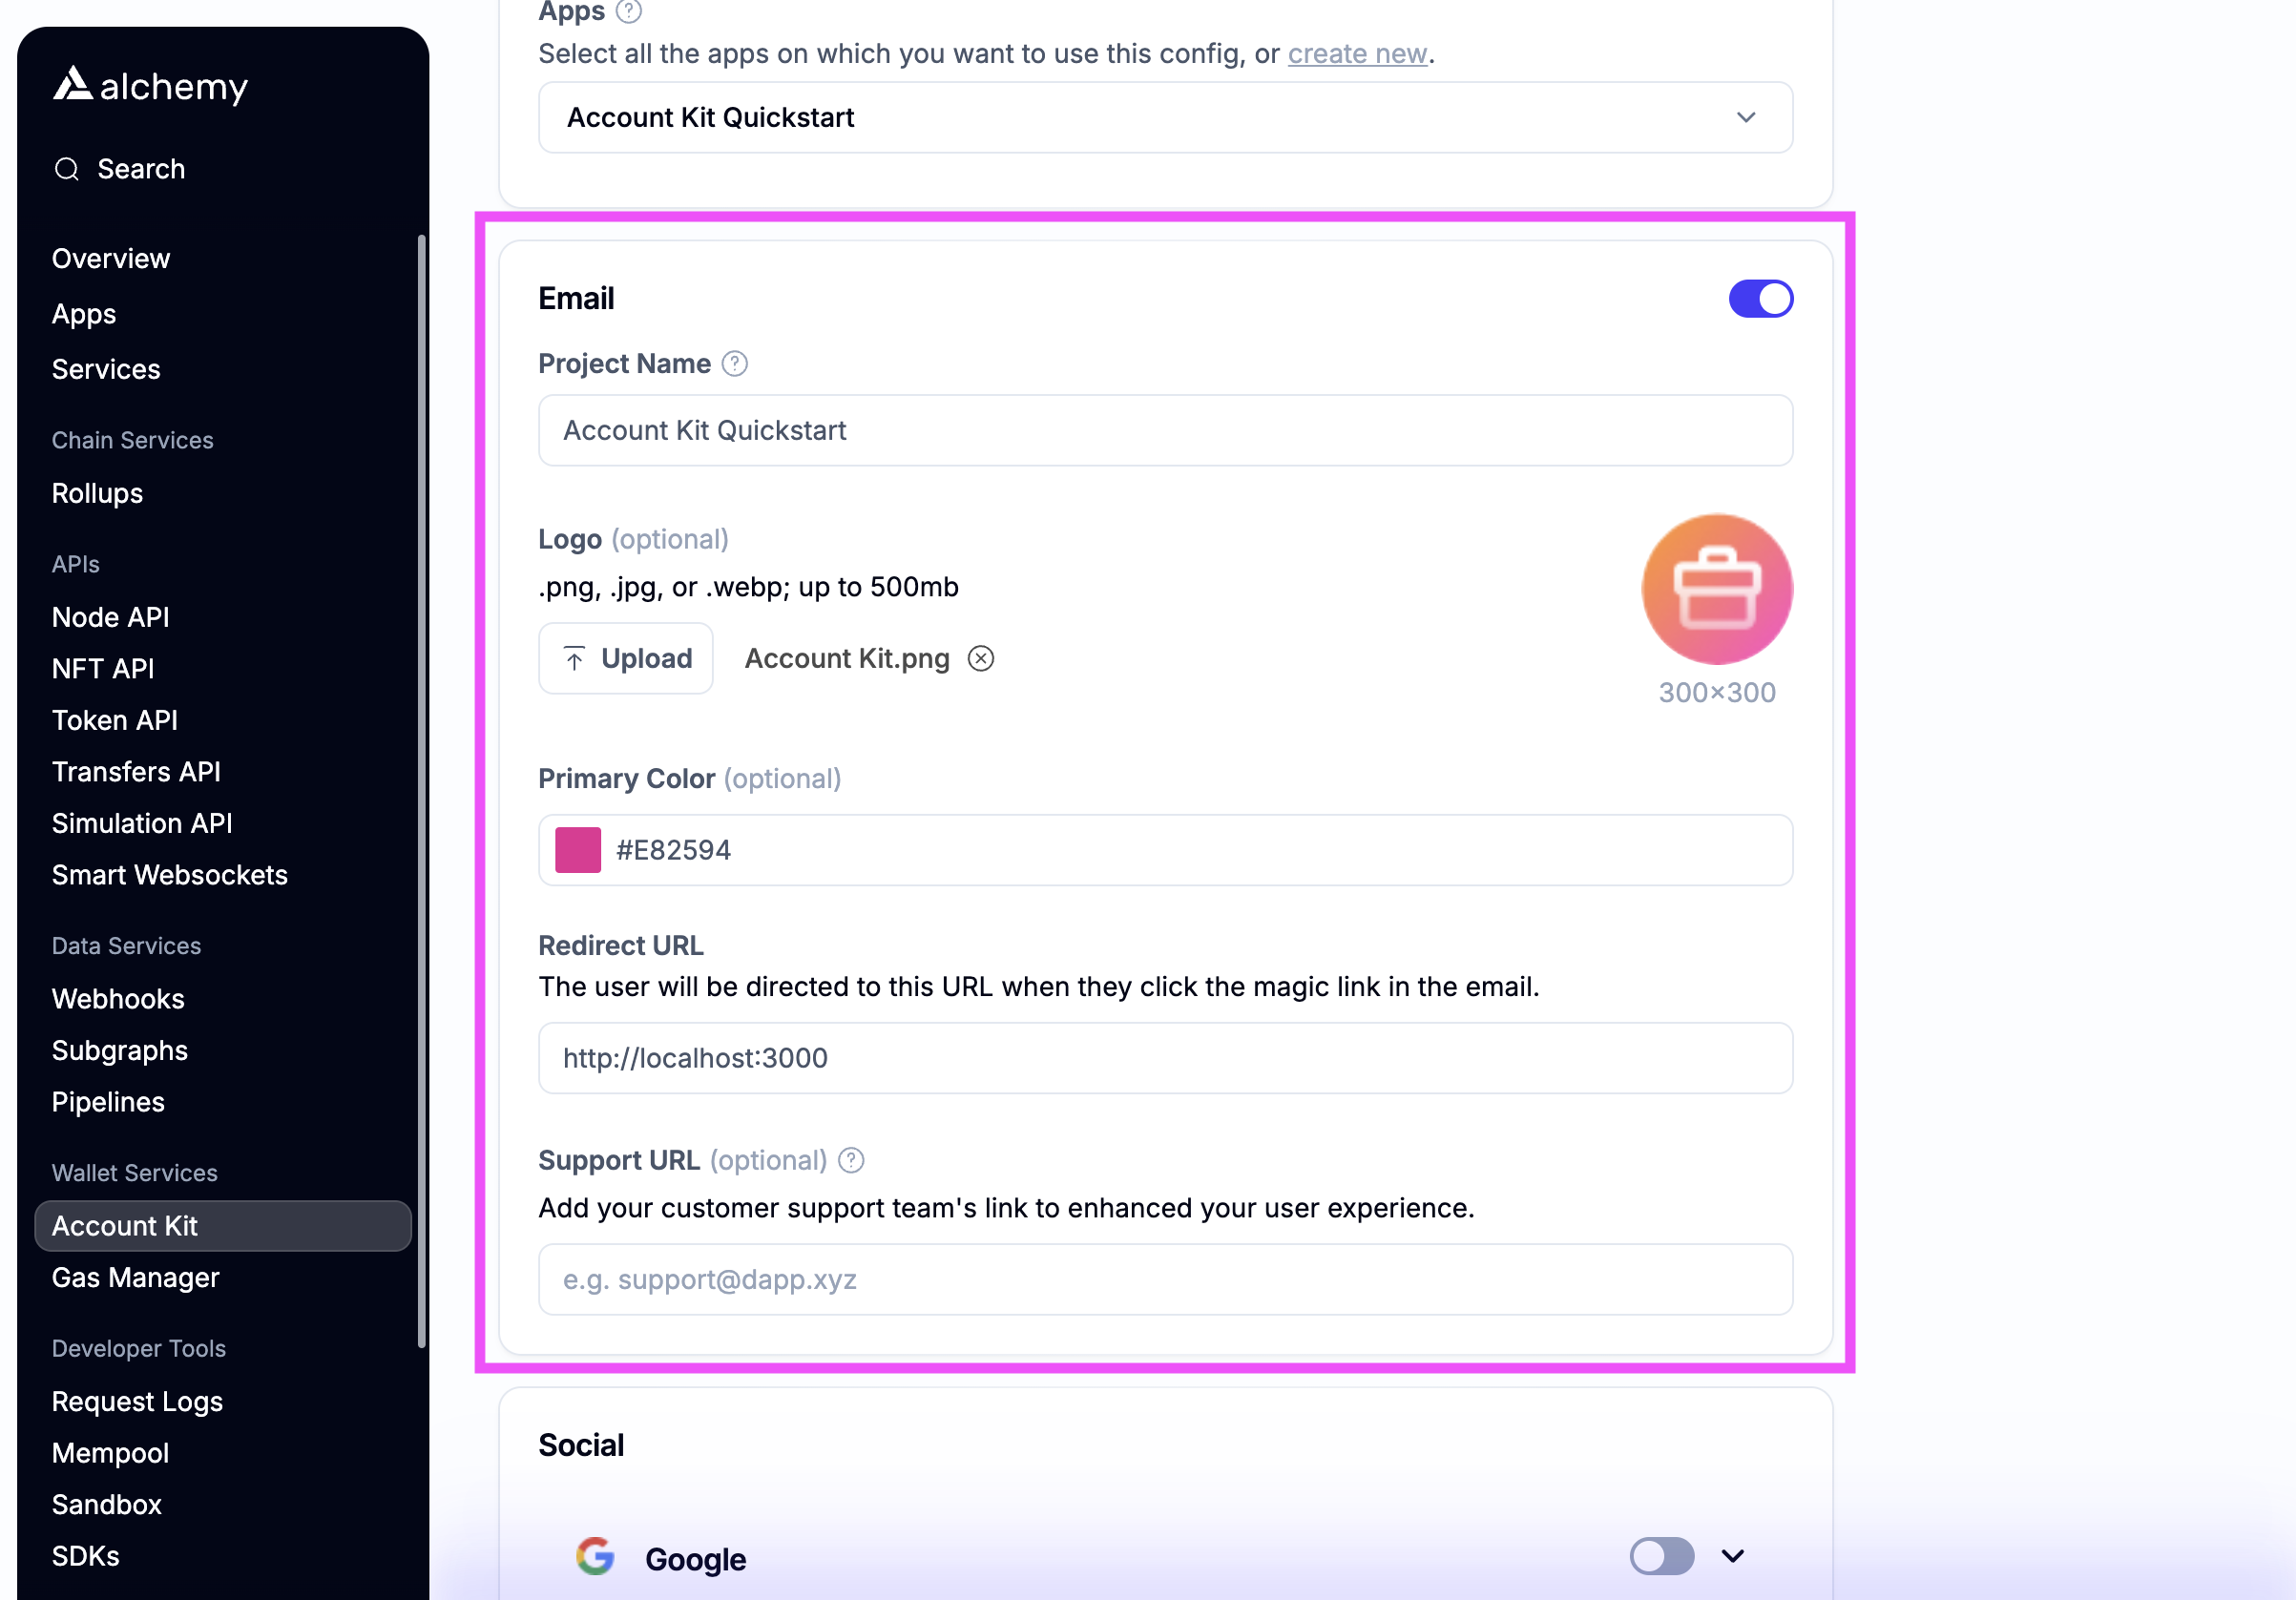
If you're using OTP Auth, toggle on email fill in the required fields. For Redirect URL, you can just pass in the URL of your website (it doesn't get used during OTP flows).
Email auth (Magic Link)-
To use email auth in your React Native app, your app needs to be set up to handle deep links that can be served via http or https.
-
In production scenarios, you would want to set up Android App Links on android or Universal Links on iOS to gracefully handle deep links.
-
For testing, simply setting up a simple server on http://localhost:3000 or any other server you control which redirects an incoming request to your app scheme is the easiest way to get started. a sample implementation of this can be found the
examplefolder of theReact Native Signerrepo. -
The http or https url you set up in the previous step would need to be added as the Redirect URL in the Account Kit Dashboard.
-
This is the url that the user will be redirected to if you use the magic link email flow to log in your users.
-
Optionally stylize ✨ the email with your brand color and logo!
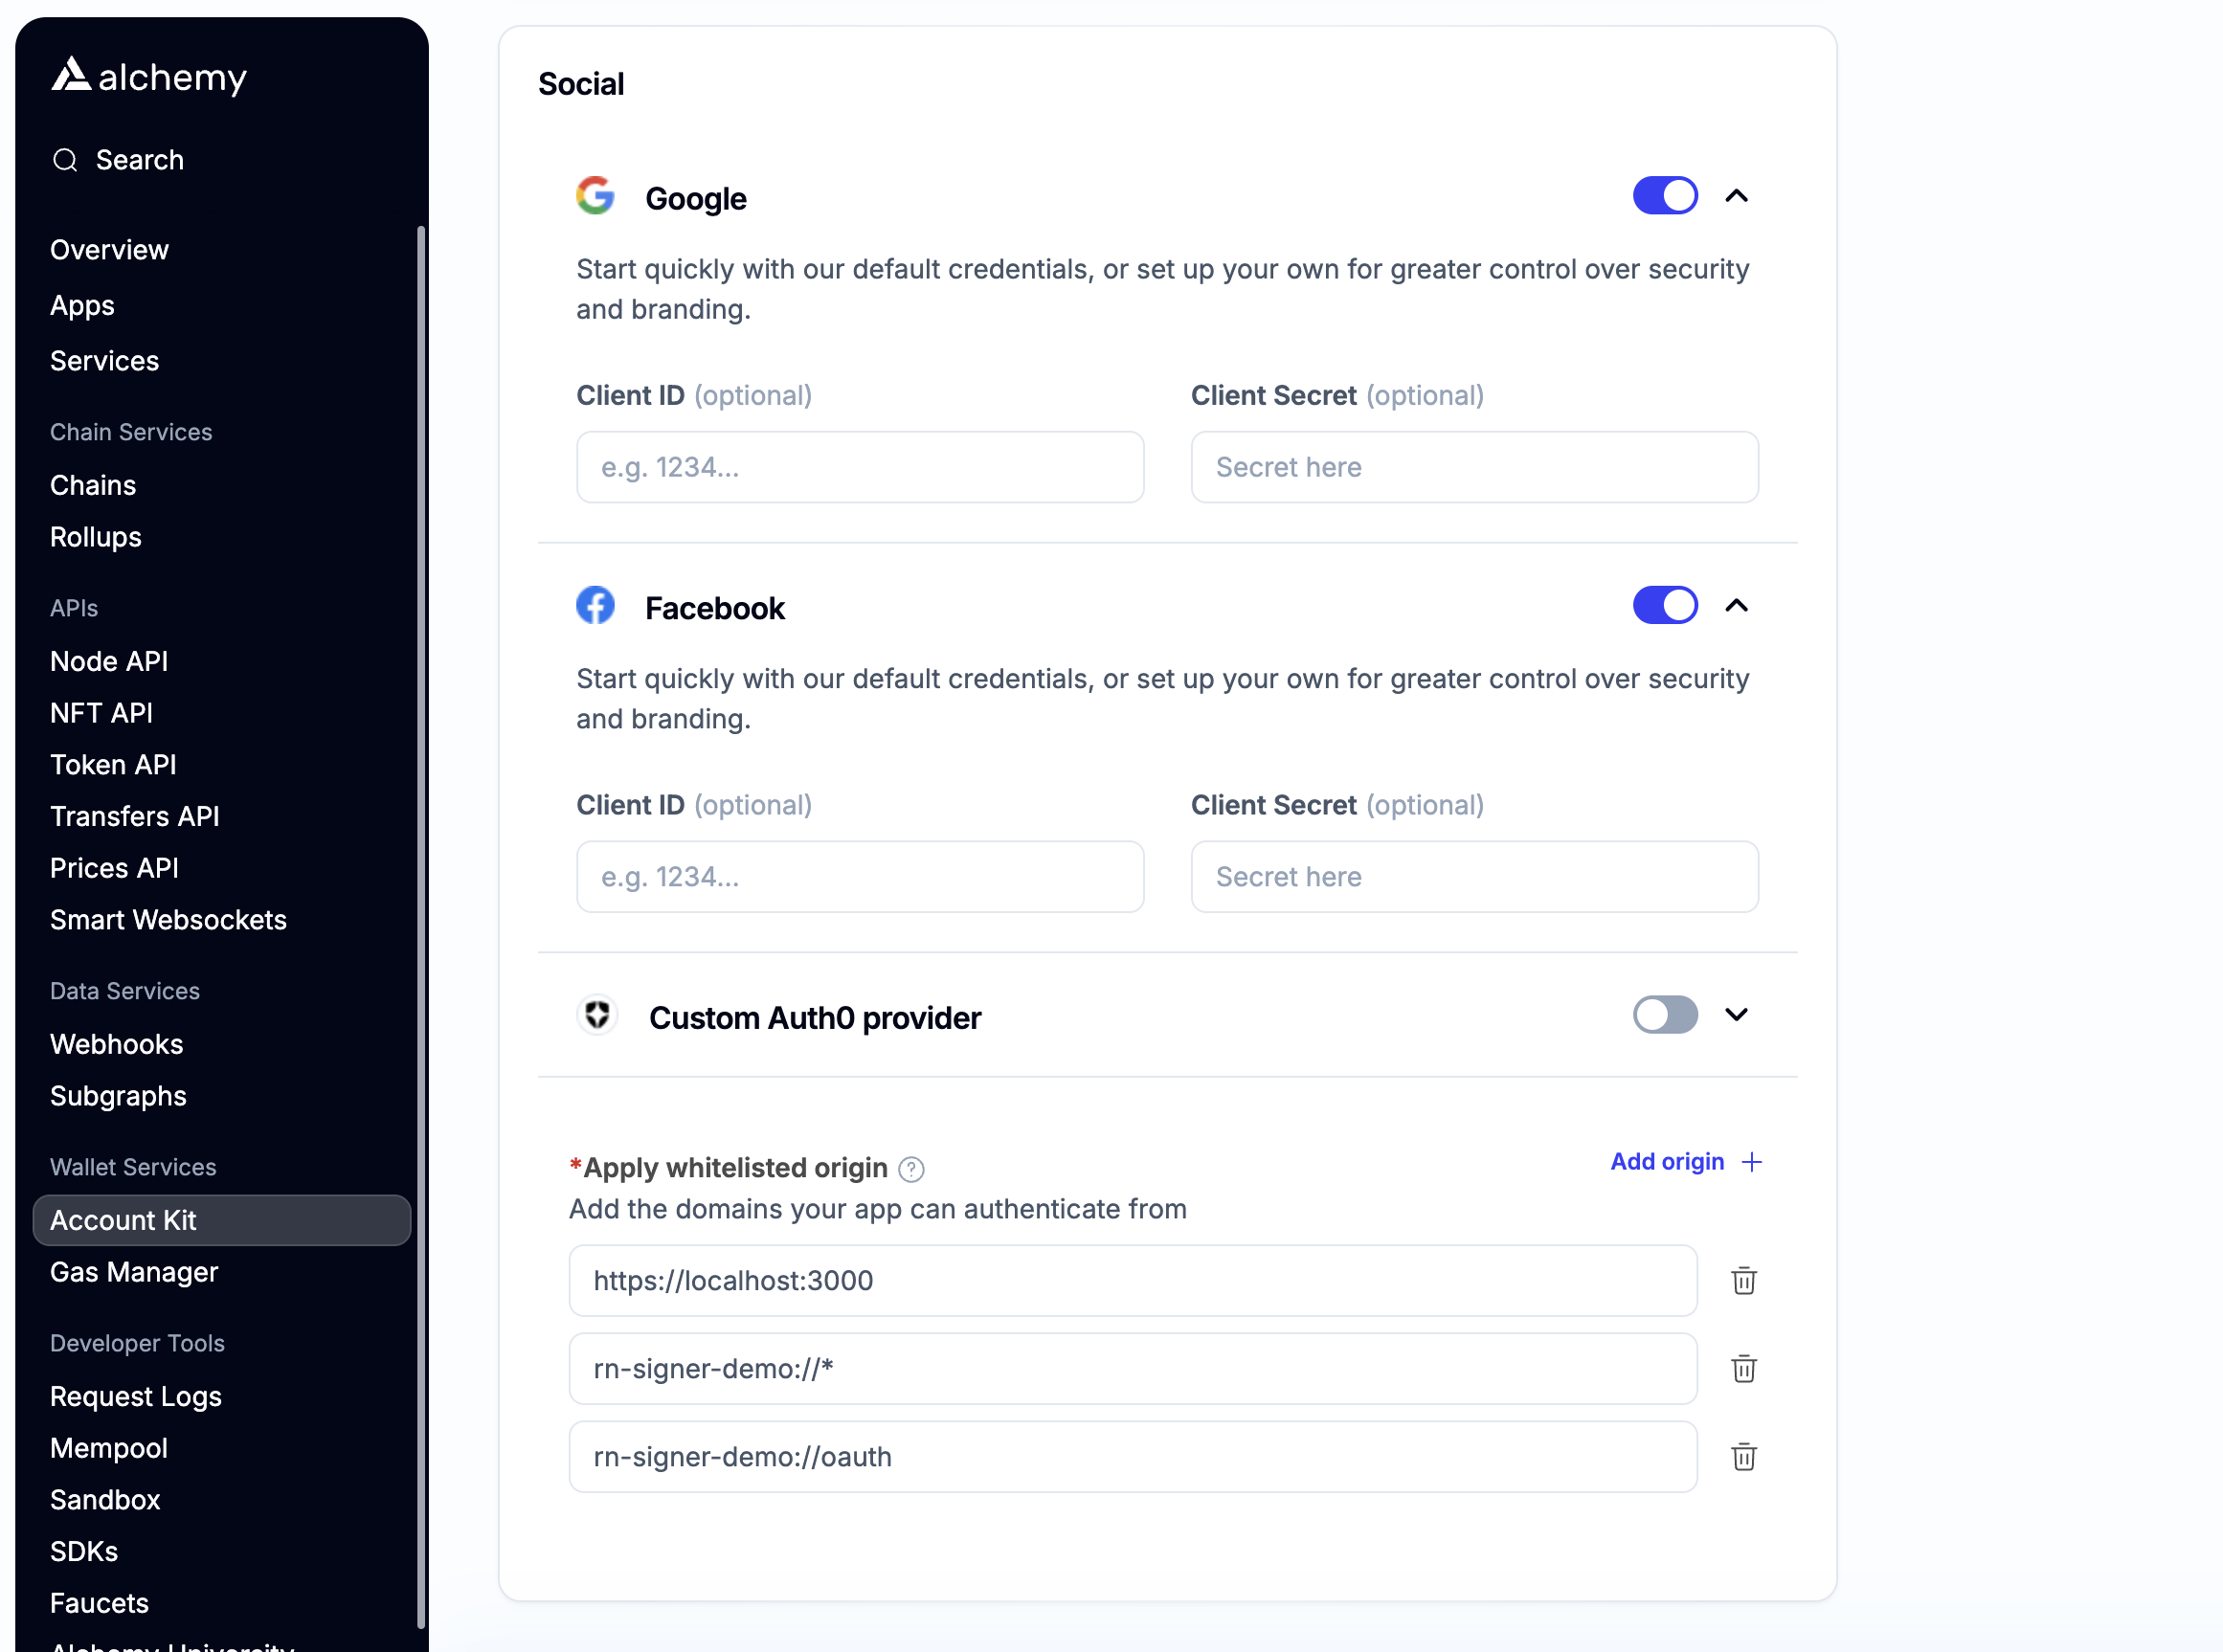
Social authIf you want to enable social login, toggle which auth providers you want to support.
- Make sure to add your app's deep link as a whitelisted origin. This is necessary to handle redirects from the signer after a user has been authenticated.
- Add the link that your dapp will be running on to the whitelisted origin list
- Optionally enter your own OAuth credentials or use our defaults
-
-
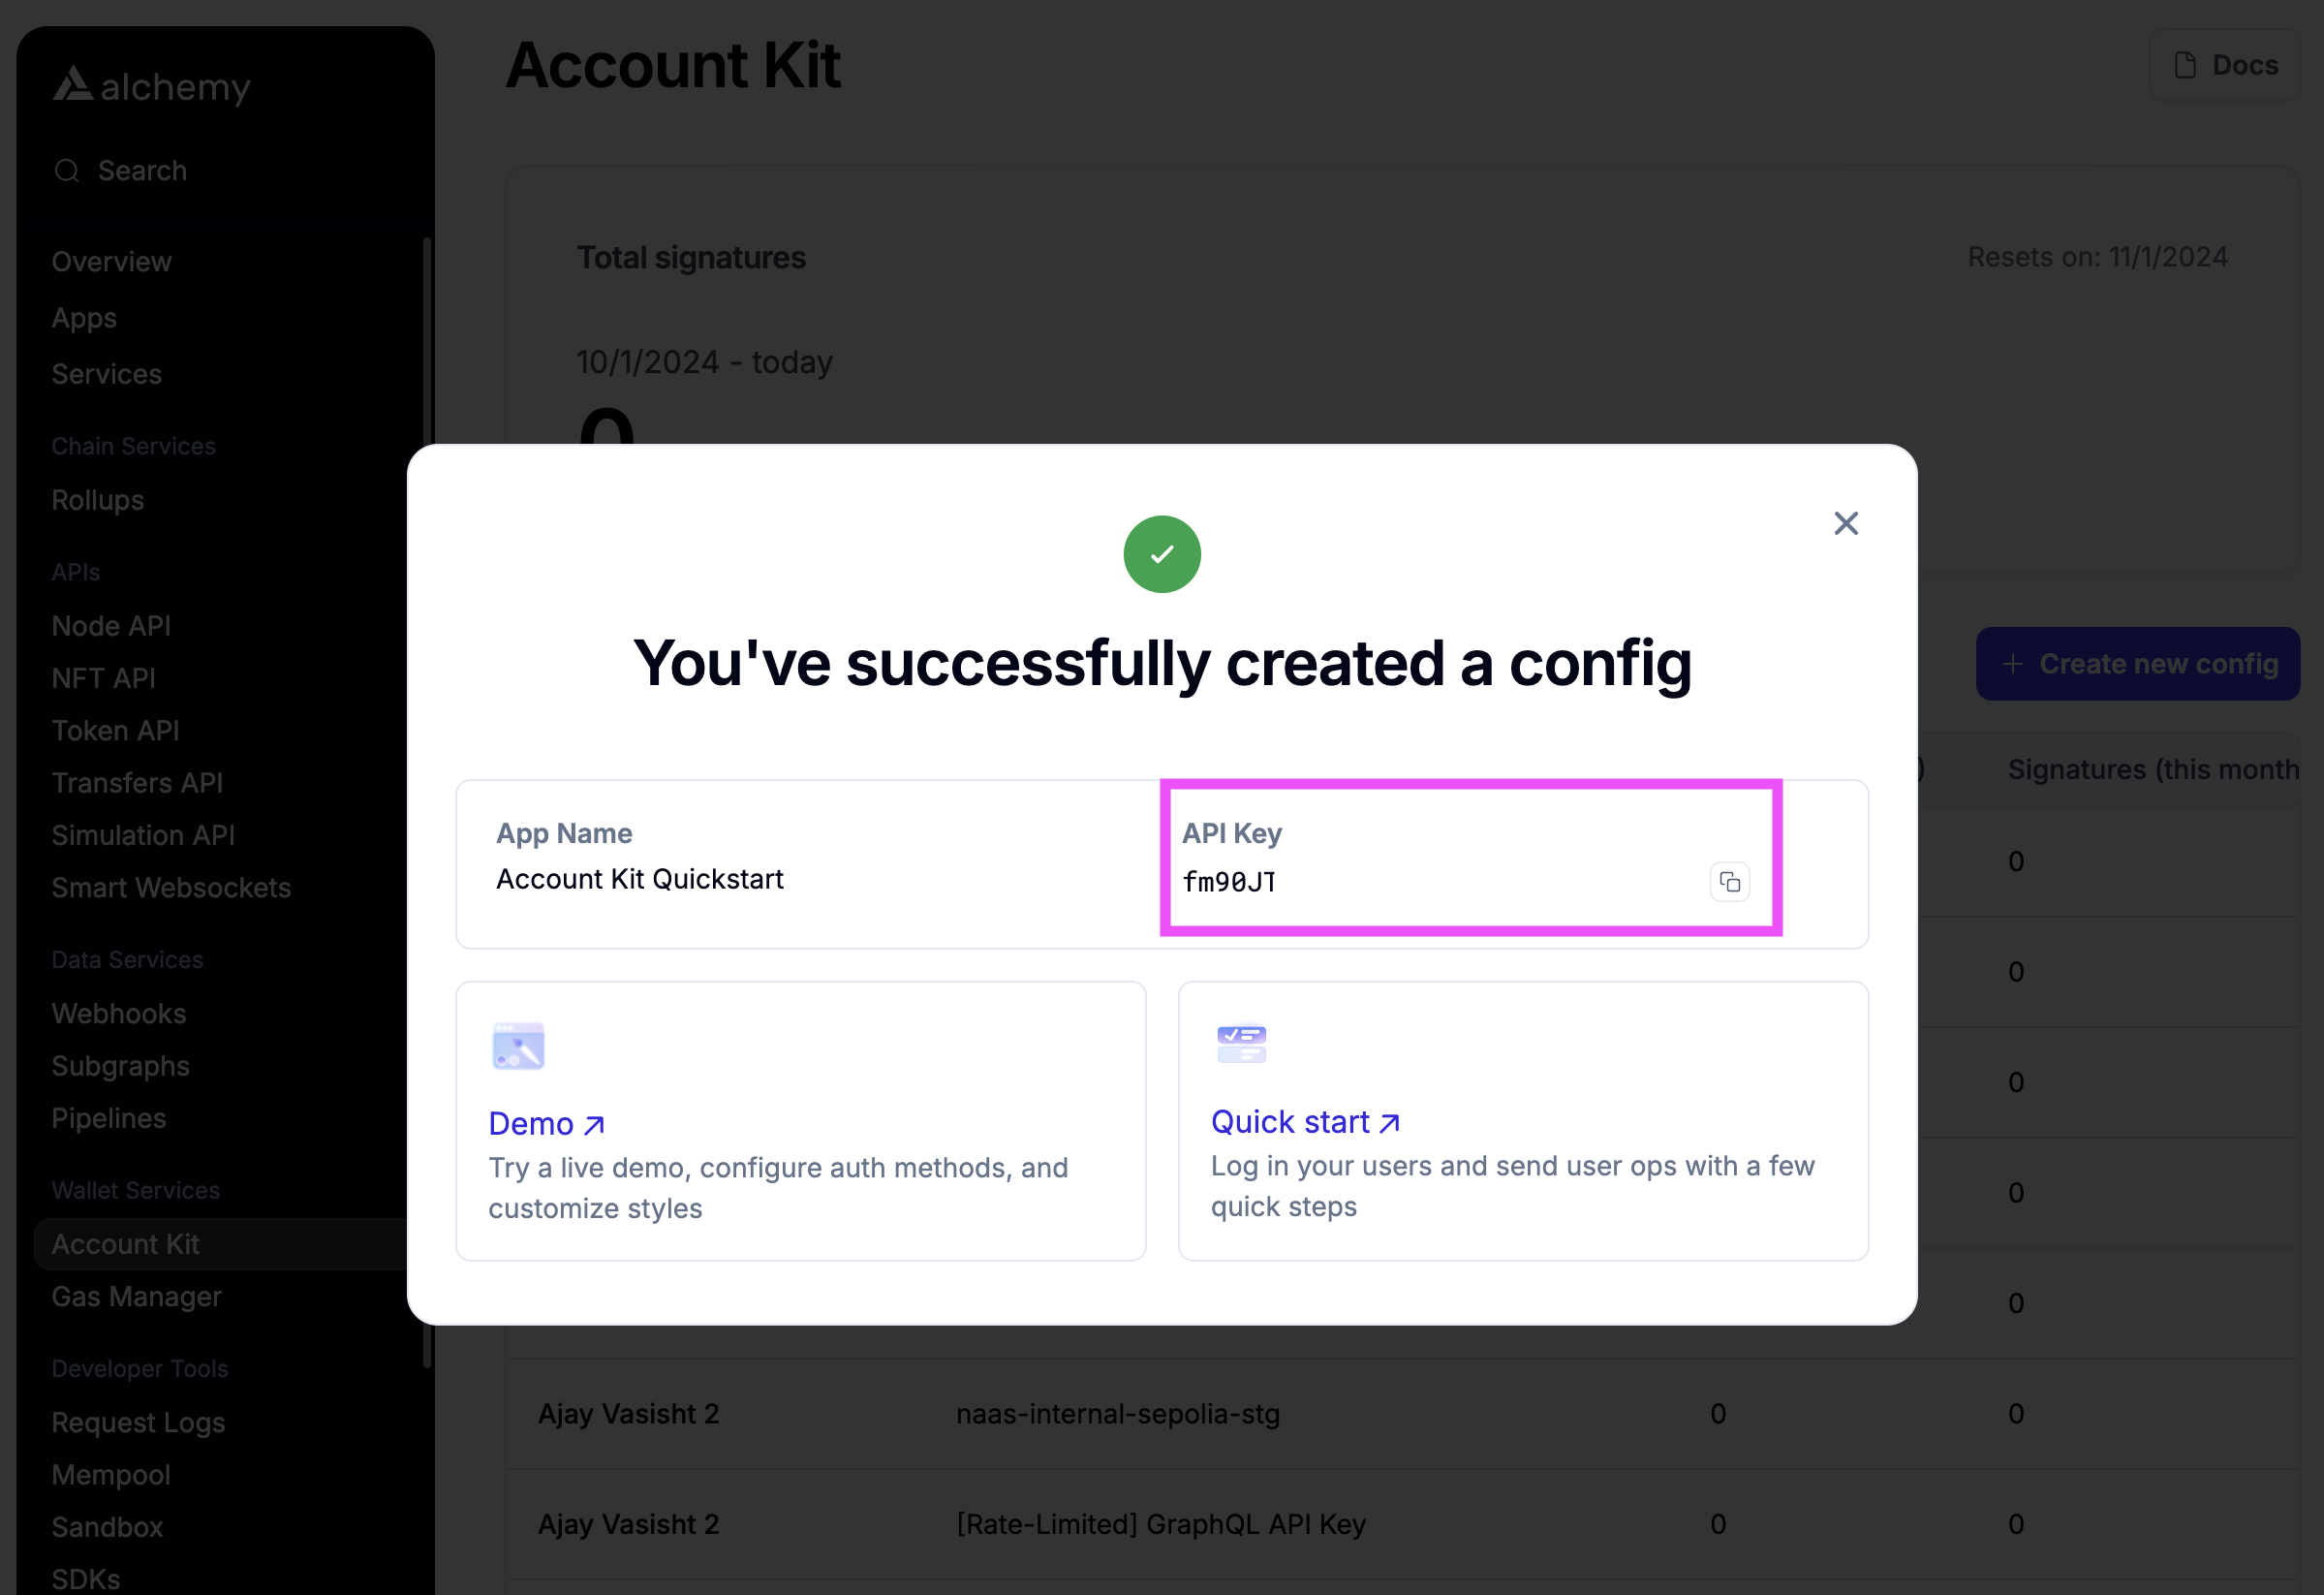
Create the config and copy the API Key
Ensure Deep Linking is properly configured
If you plan on using email maigc link auth or social auth, you'll need to ensure deep linking is properly configured in your app.
Depending on if your app uses expo-router, react-navigation, or some other navigation library, you'll need to configure deep linking accordingly.
Here are some useful links for some common navigation libraries: