

Infra Quickstart
Account Kit is composed of some lower-level libraries if you're looking for further customization of your stack or want more control over how you build your application.
One of these libraries is @account-kit/infra which allows you to interact with our infrastructure directly, while bringing your own smart contracts or signer.
In this guide, we'll cover how to get started with @account-kit/infra and send a user operation. For smart contracts, we'll leverage @account-kit/smart-contracts to use LightAccount,
but you're free to use any smart contract you'd like.
Installation
Prerequisites- minimum Typescript version of 5
- pin viem to 2.20.0 (
yarn add [email protected])
yarn add @account-kit/infra @account-kit/smart-contractsGet your Alchemy API Key
-
Get your API key by creating a new app in your Alchemy Dashboard
-
Create a new account config in your Account Kit Dashboard
-
Apply the config to your app from step 1
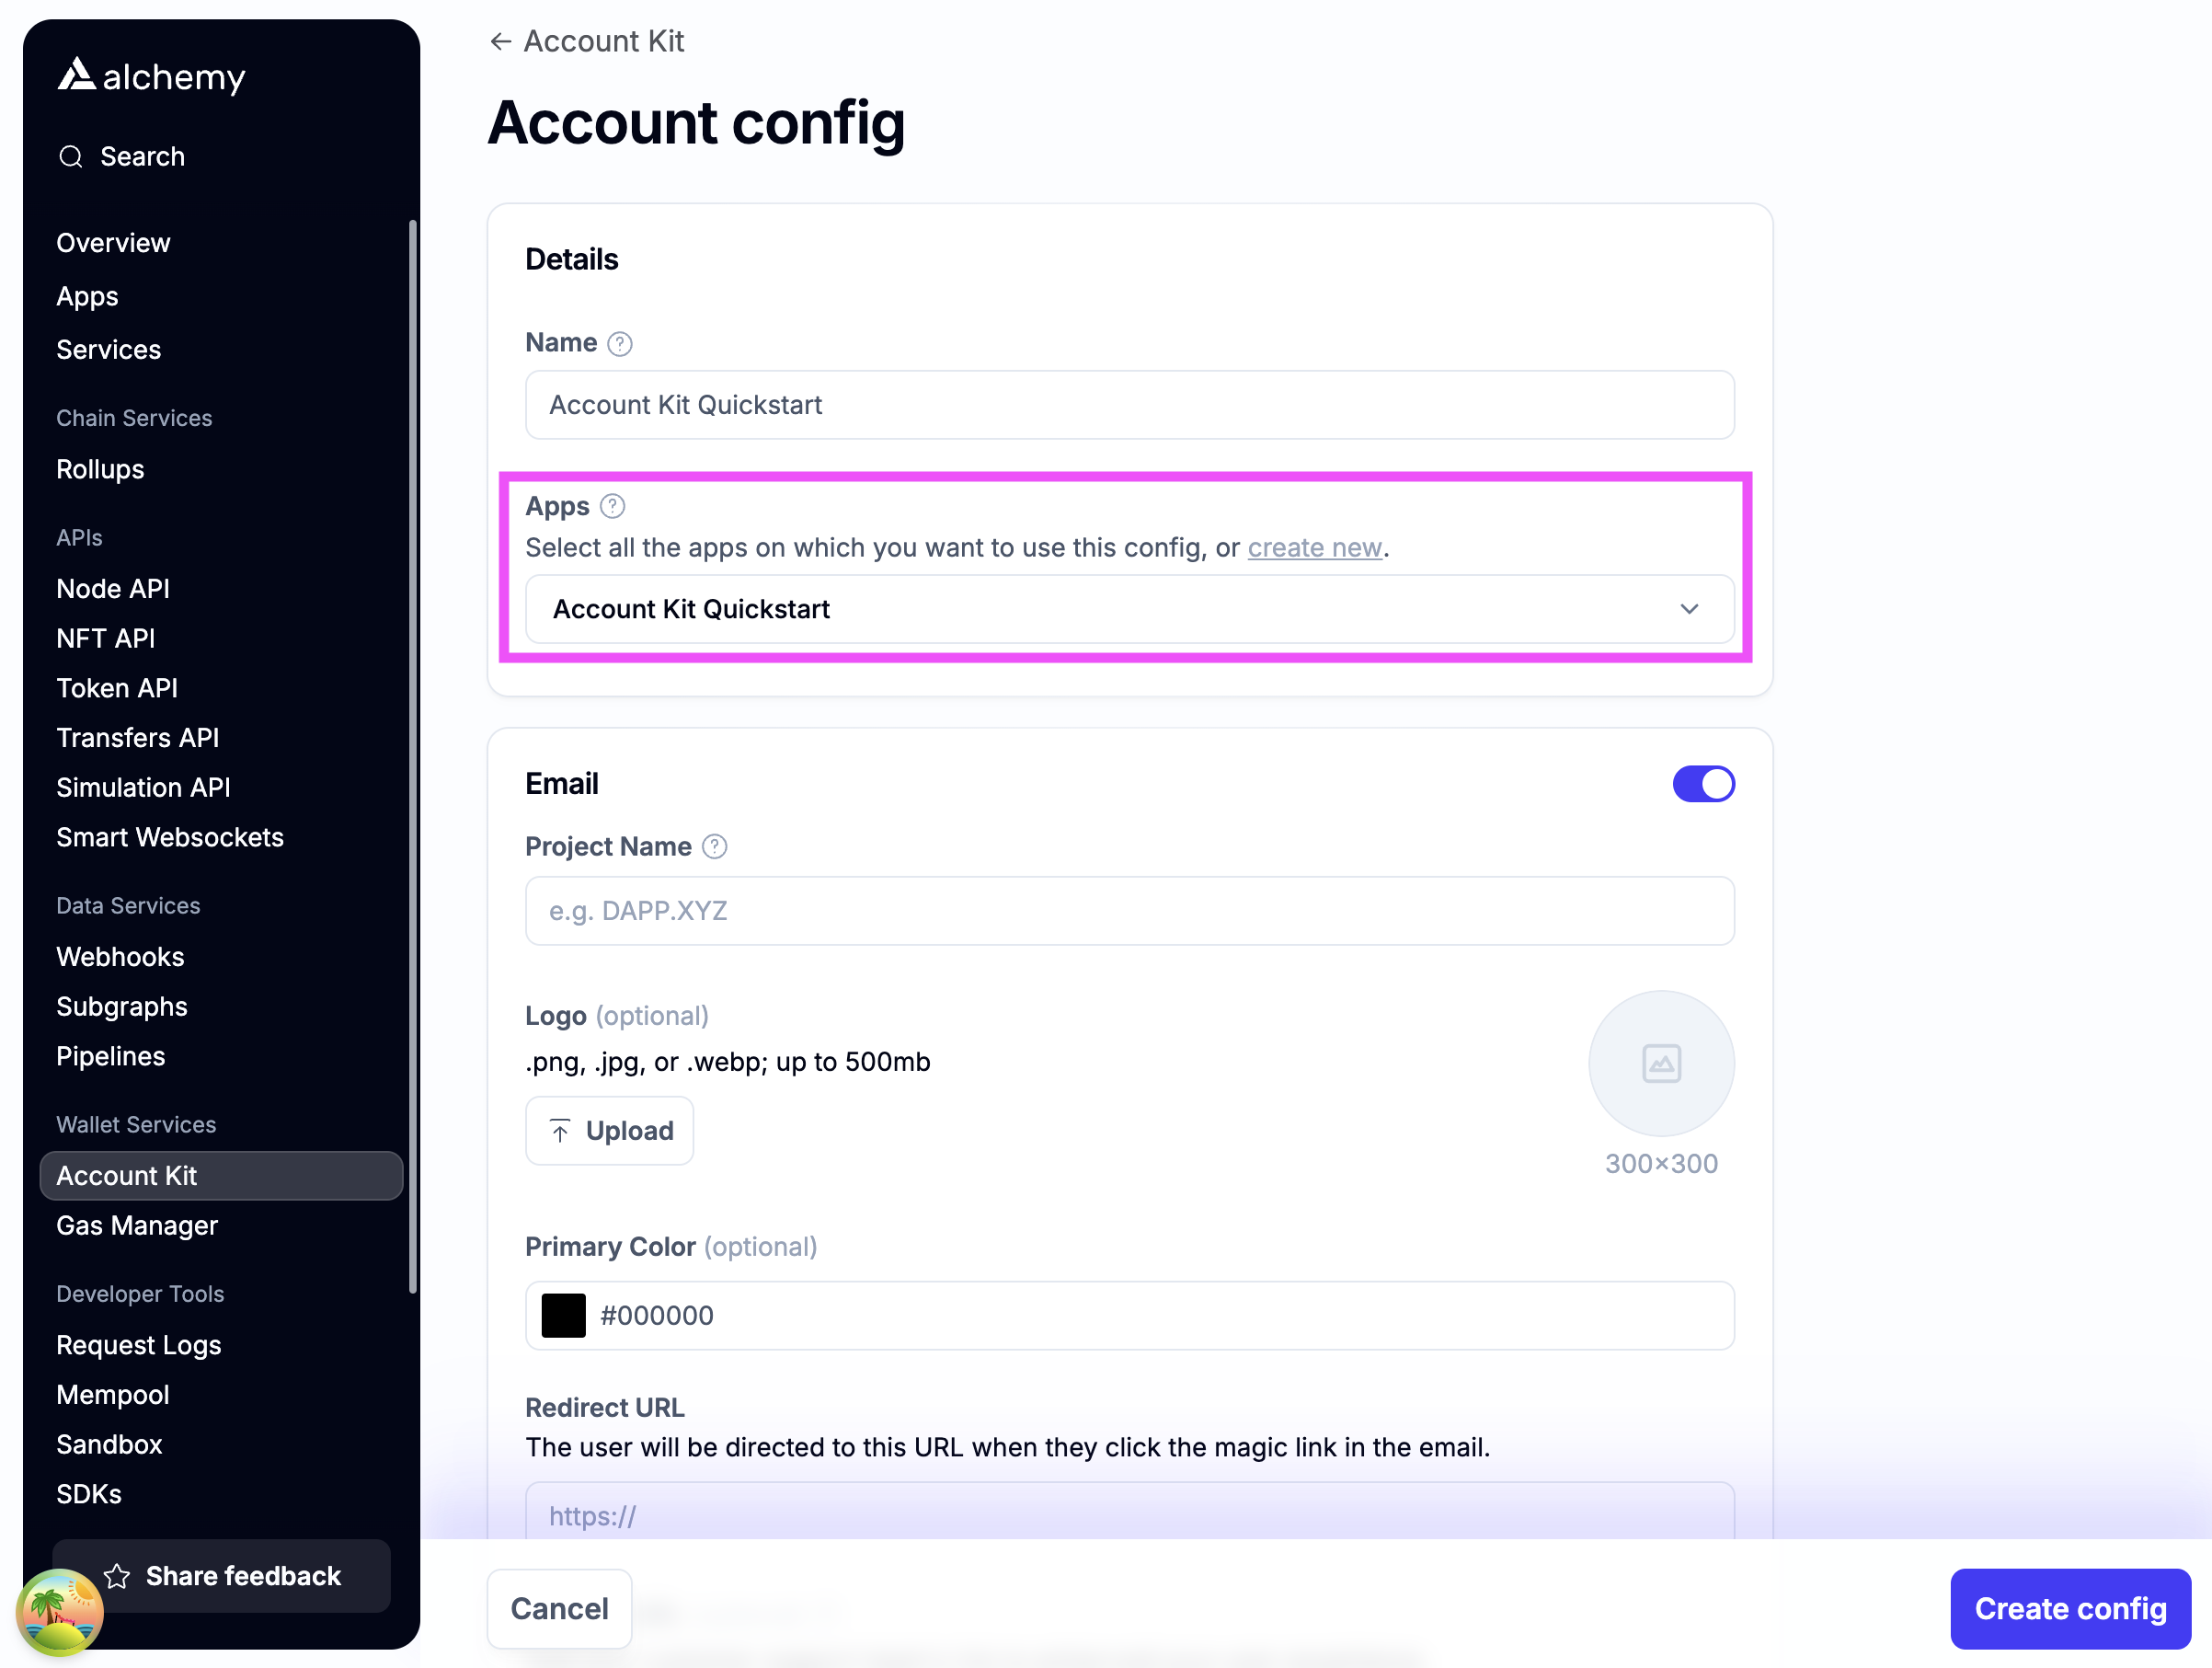
-
Enable authentication methods you want to support.
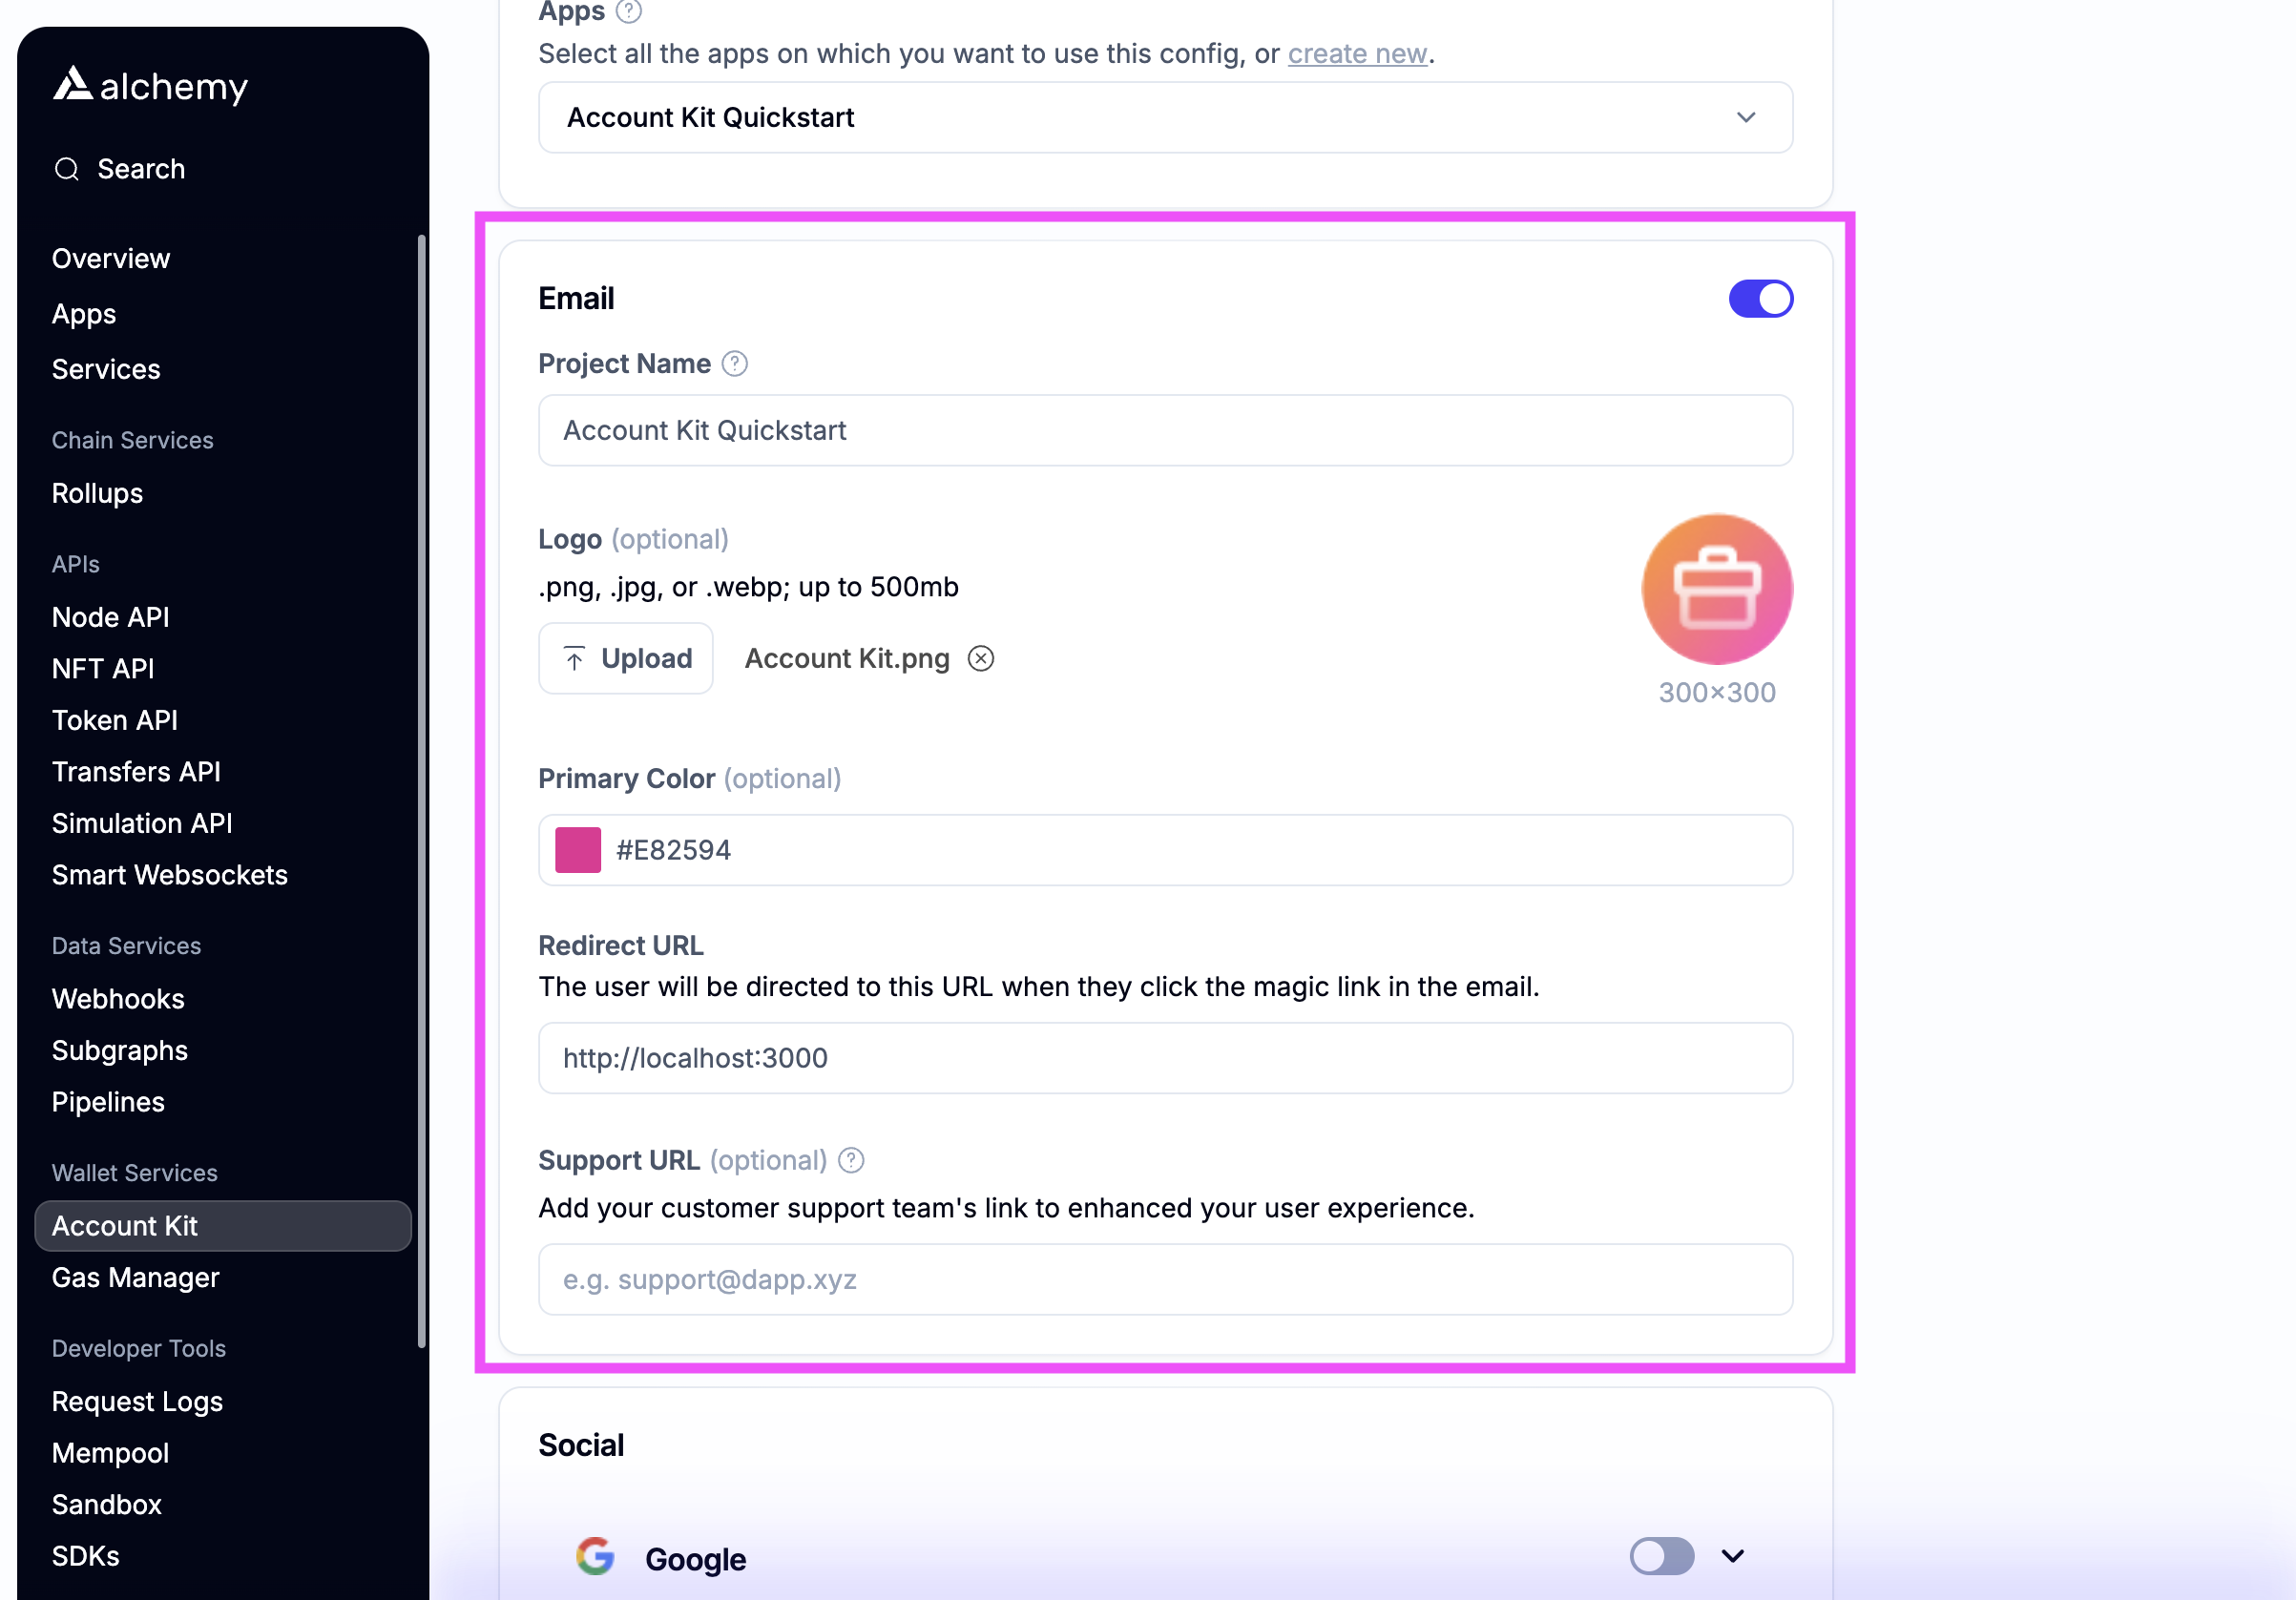
Email authIf you want to use email auth, toggle on email.
- For testing, use http://localhost:3000 as the Redirect URL (Note http not https)
- The user will be redirected to the Redirect URL if you use the magic link email flow
- Optionally stylize ✨ the email with your brand color and logo!
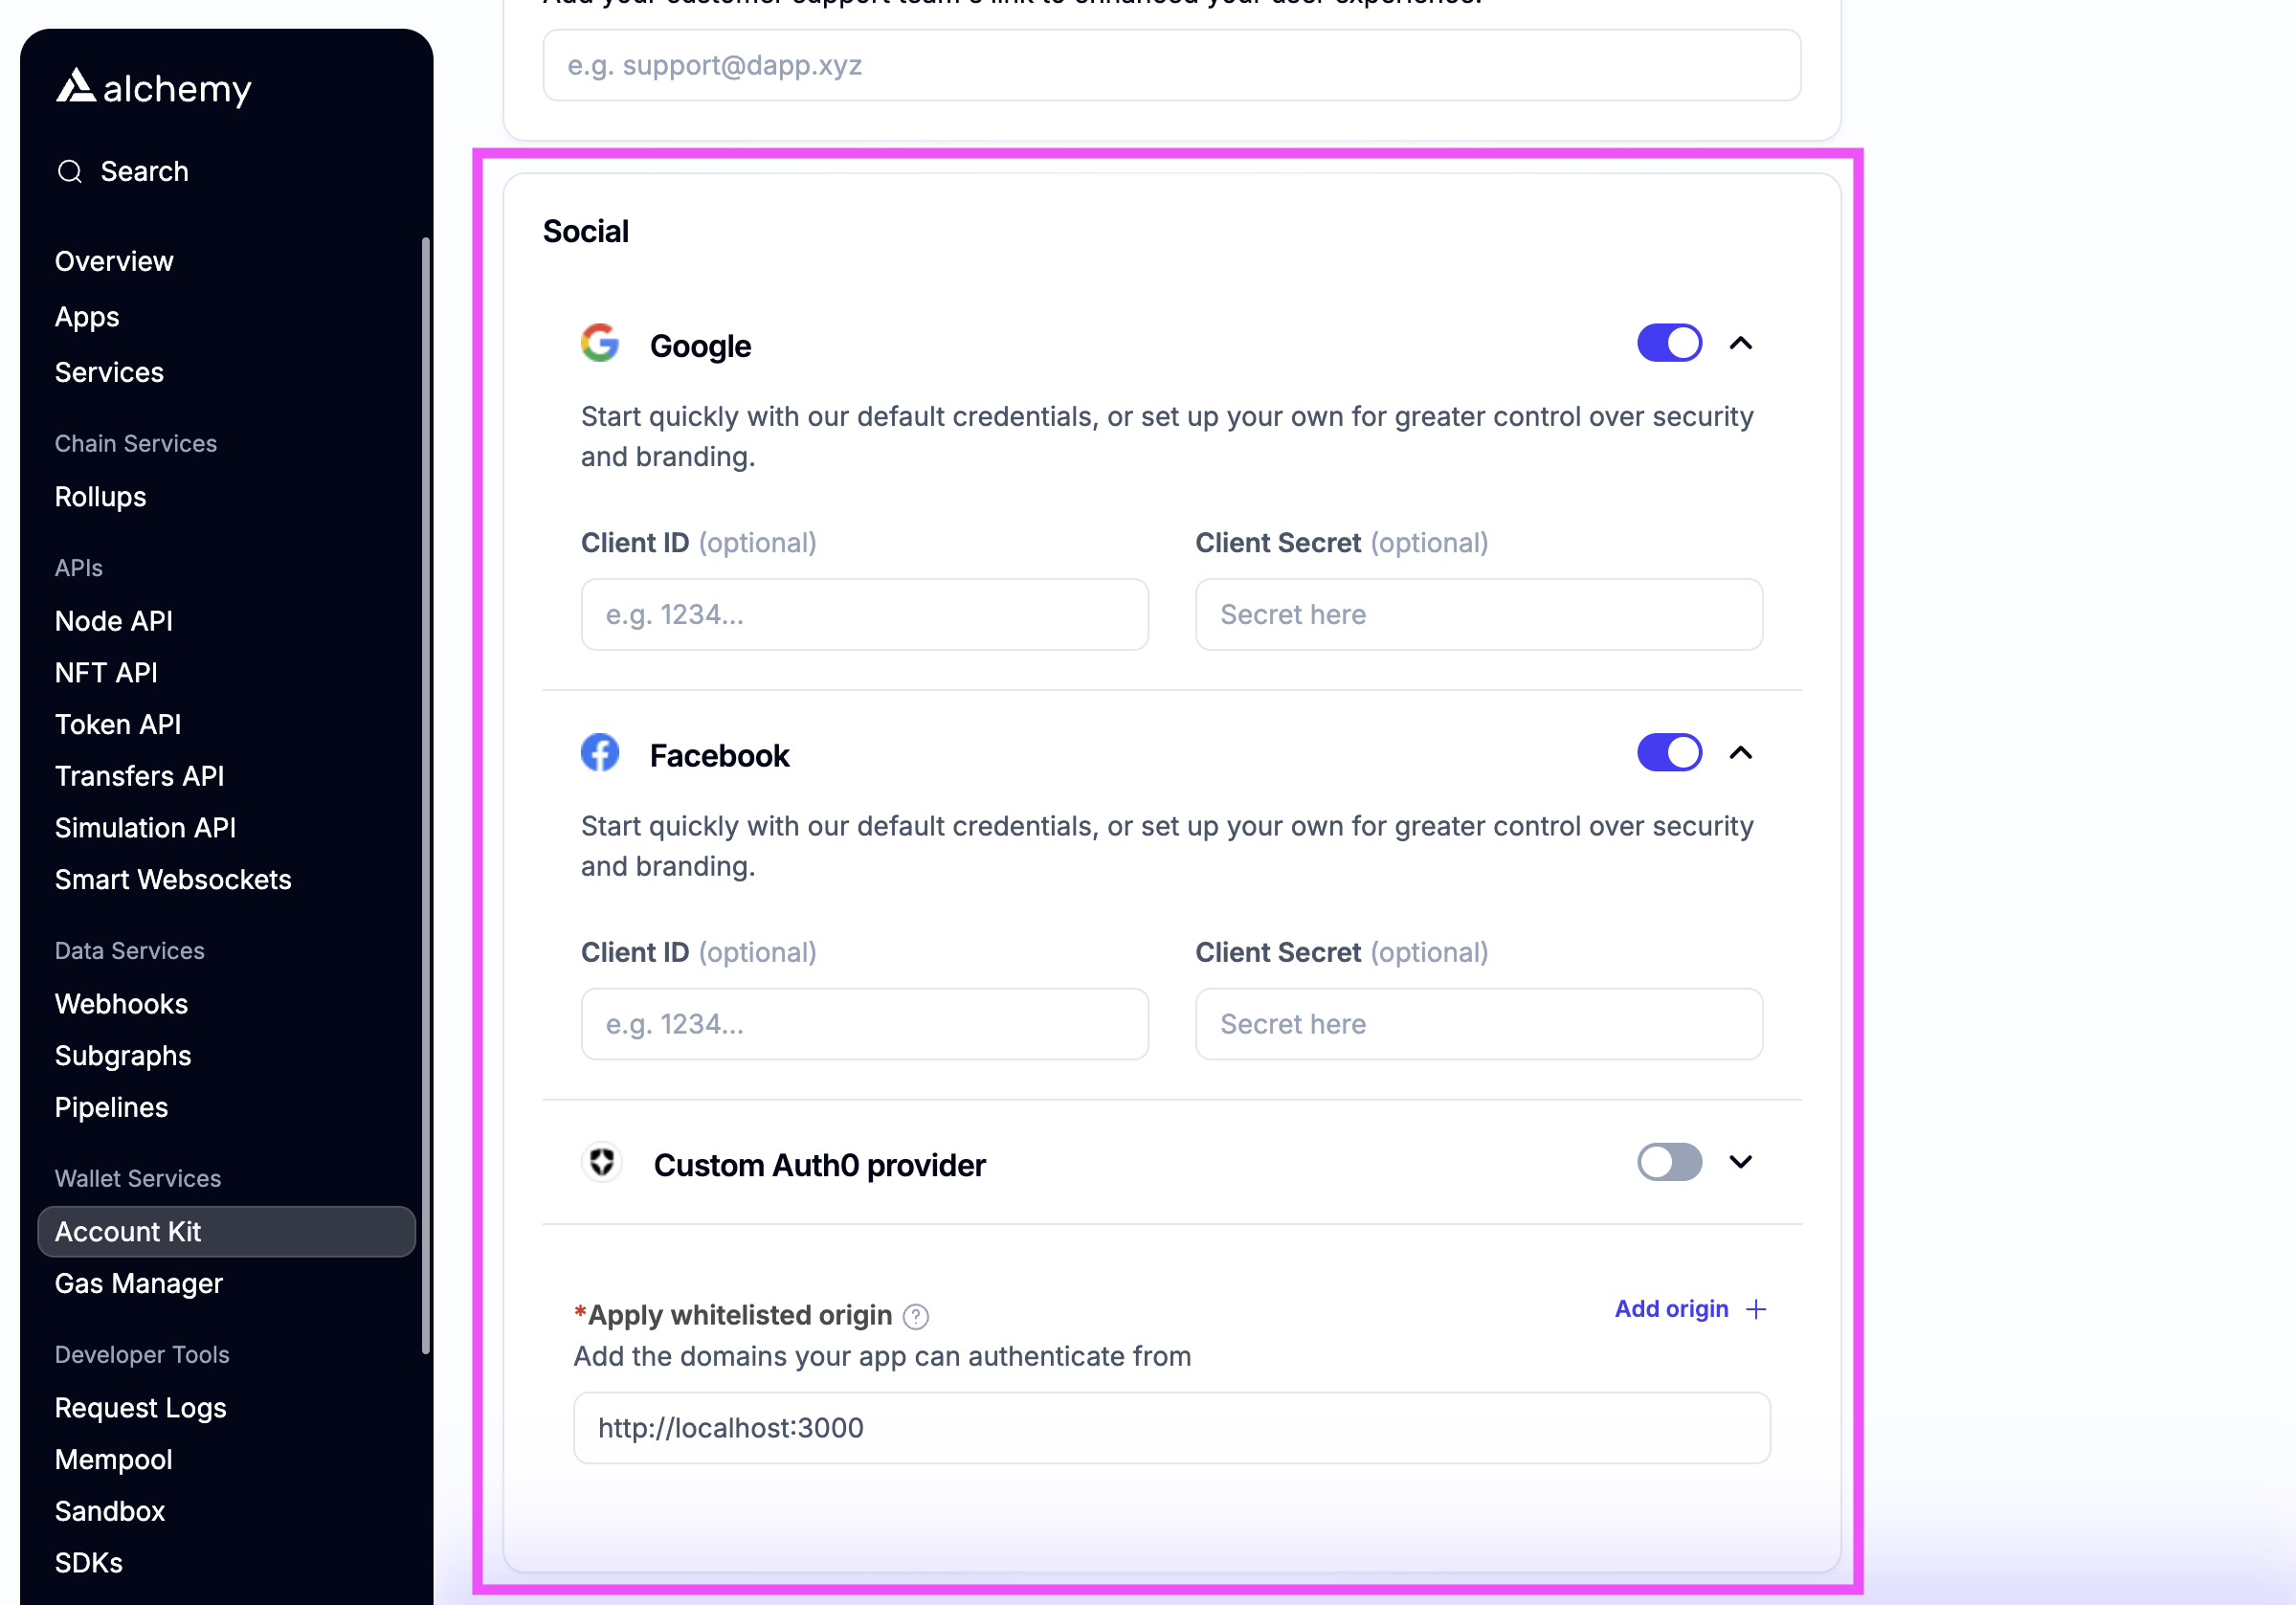
Social authIf you want to enable social login, toggle which auth providers you want to support.
-
For testing, add http://localhost:3000 as a whitelisted origin
-
Add the link that your dapp will be running on to the whitelisted origin list
-
Optionally enter your own OAuth credentials or use our defaults
-
-
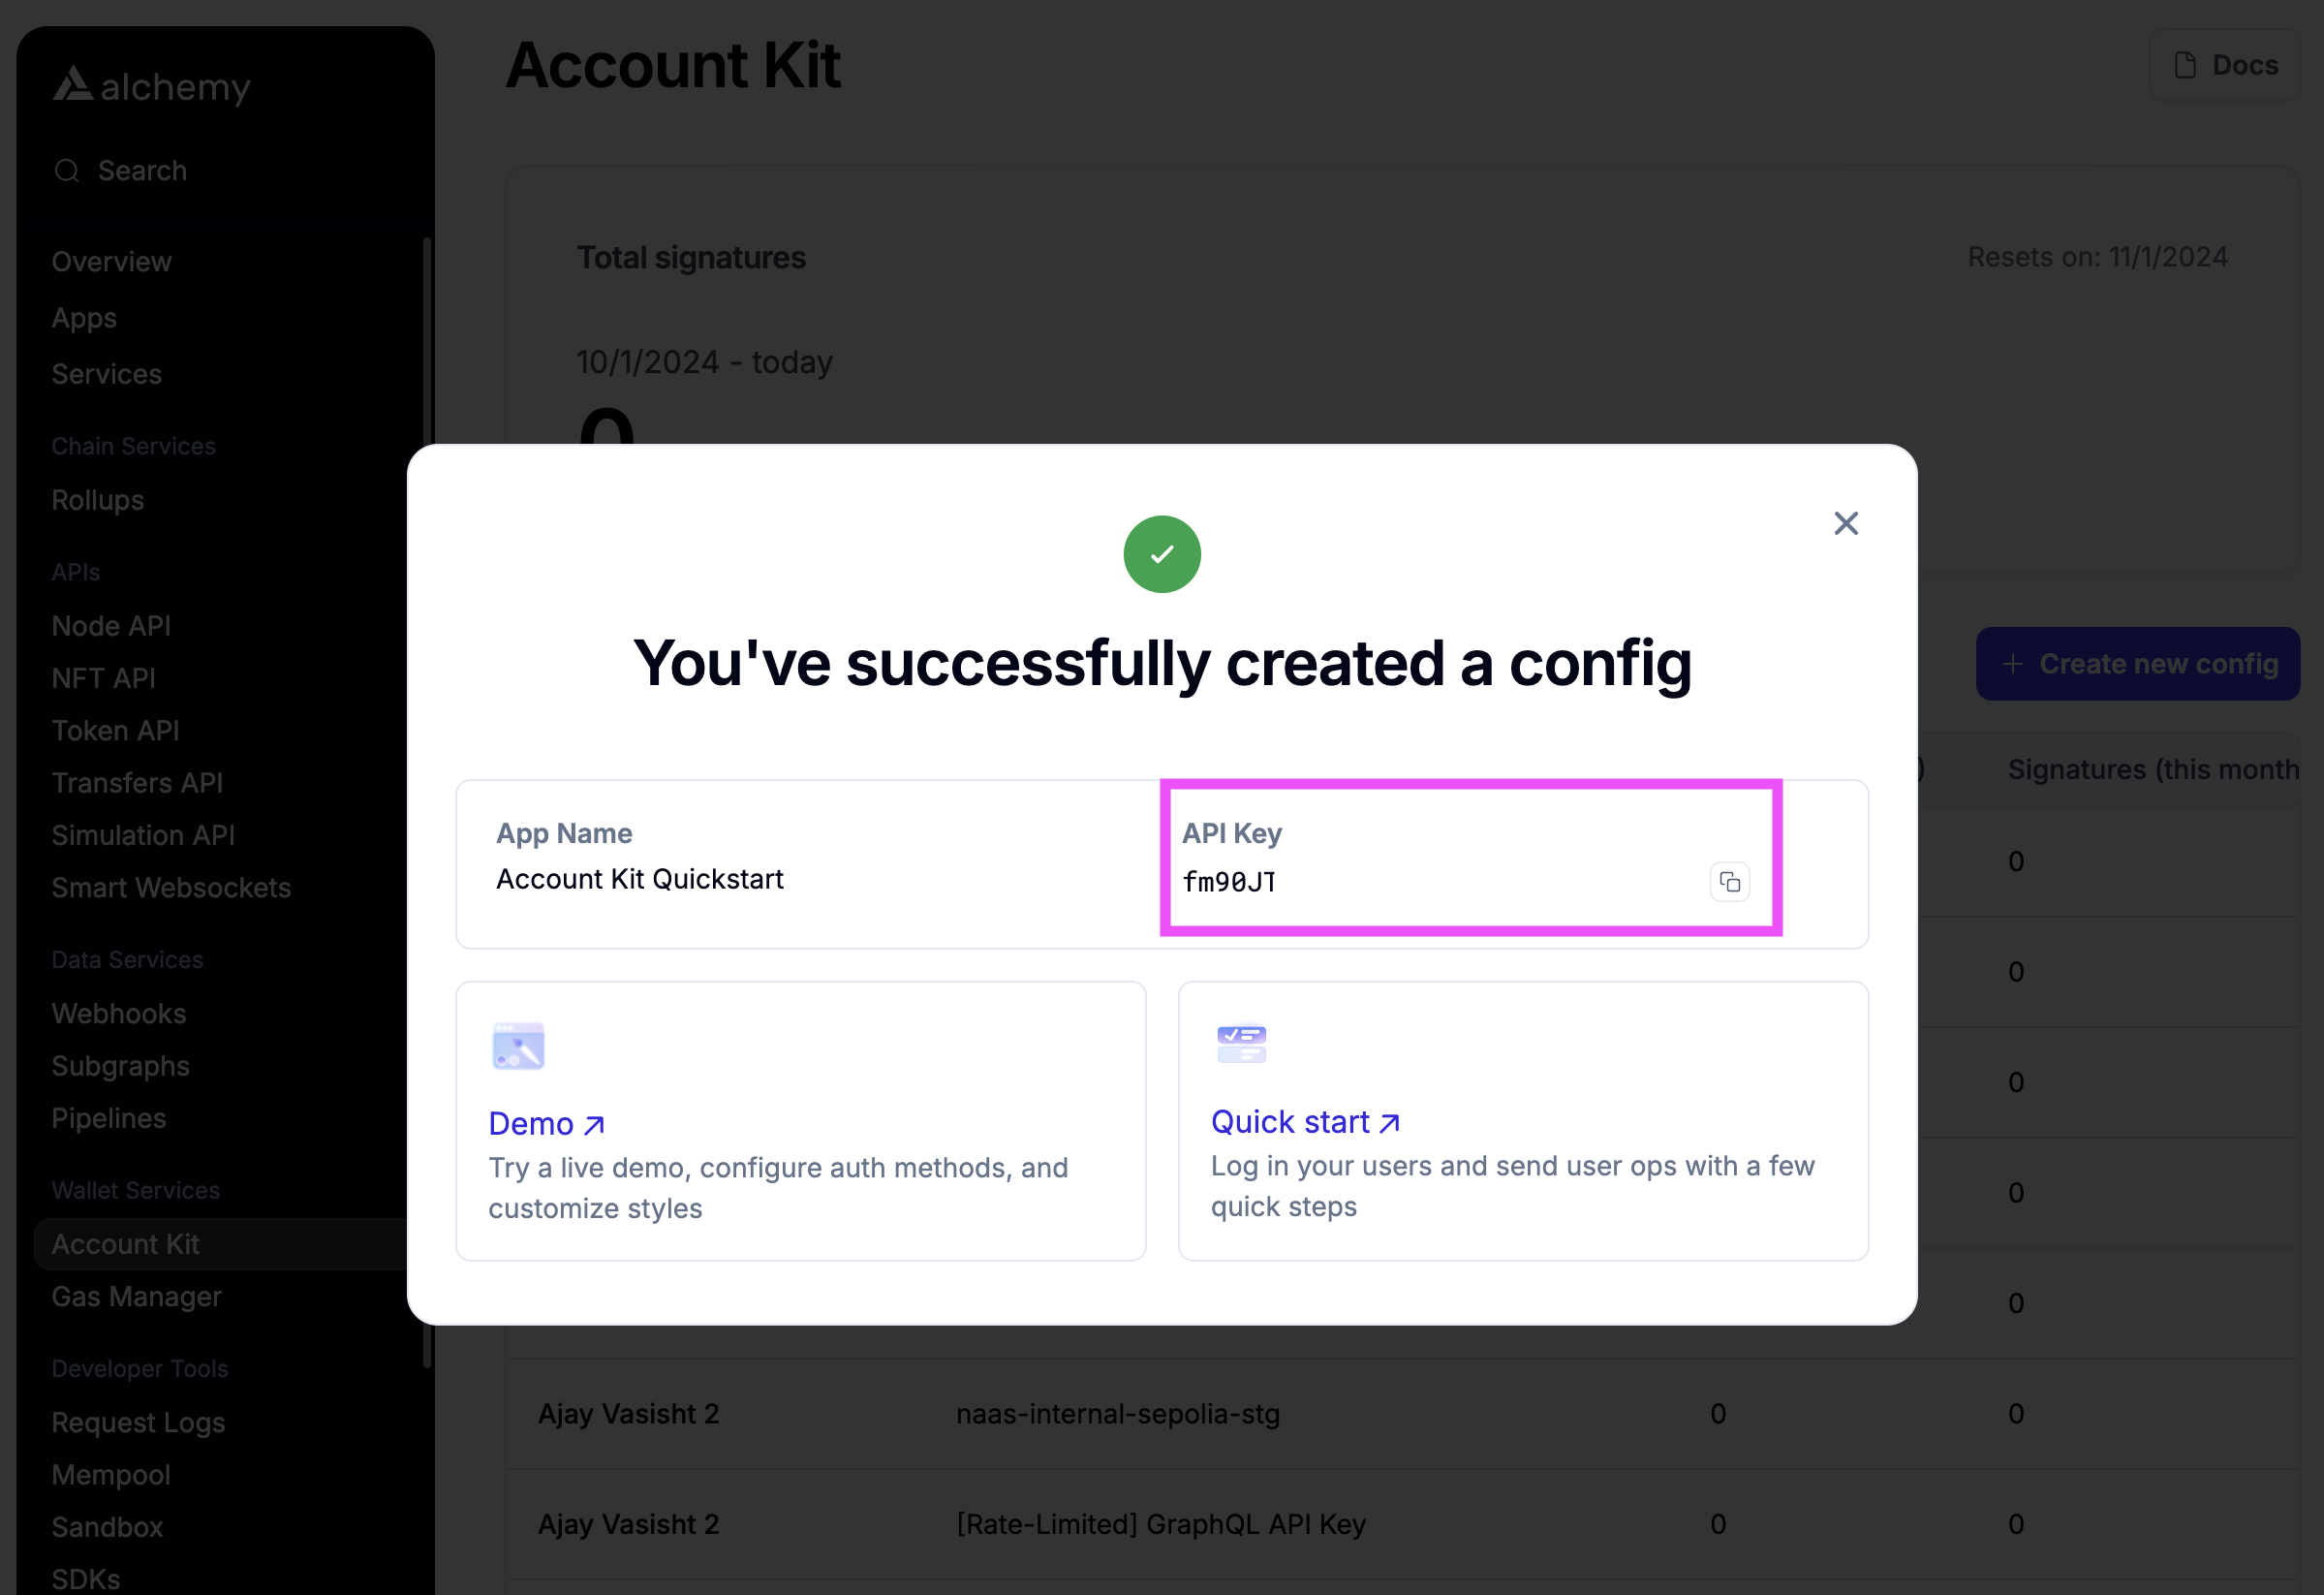
Create the config and copy the API Key
Create a Gas Manager policy
If you want to sponsor gas, then you'll also want to create a gas policy in the Gas Manager dashboard.
A gas manager policy is a set of rules that define which UOs are eligible for gas sponsorship. You can control which operations are eligible for sponsorship by defining rules:
- Spending rules: limit the amount of money or the number of user ops that can be sponsored by this policy
- Allowlist: restrict wallet addresses that are eligible for sponsorship. The policy will only sponsor gas for UOs that were sent by addresses on this list.
- Blocklist: ban certain addresses from receiving sponsorship under this policy
- Policy duration: define the duration of your policy and the sponsorship expiry period. This is the period for which the Gas Manager signature (paymaster data) will remain valid once it is generated.
To learn more about policy configuration, refer to the guide on setting up a gas manager policy.
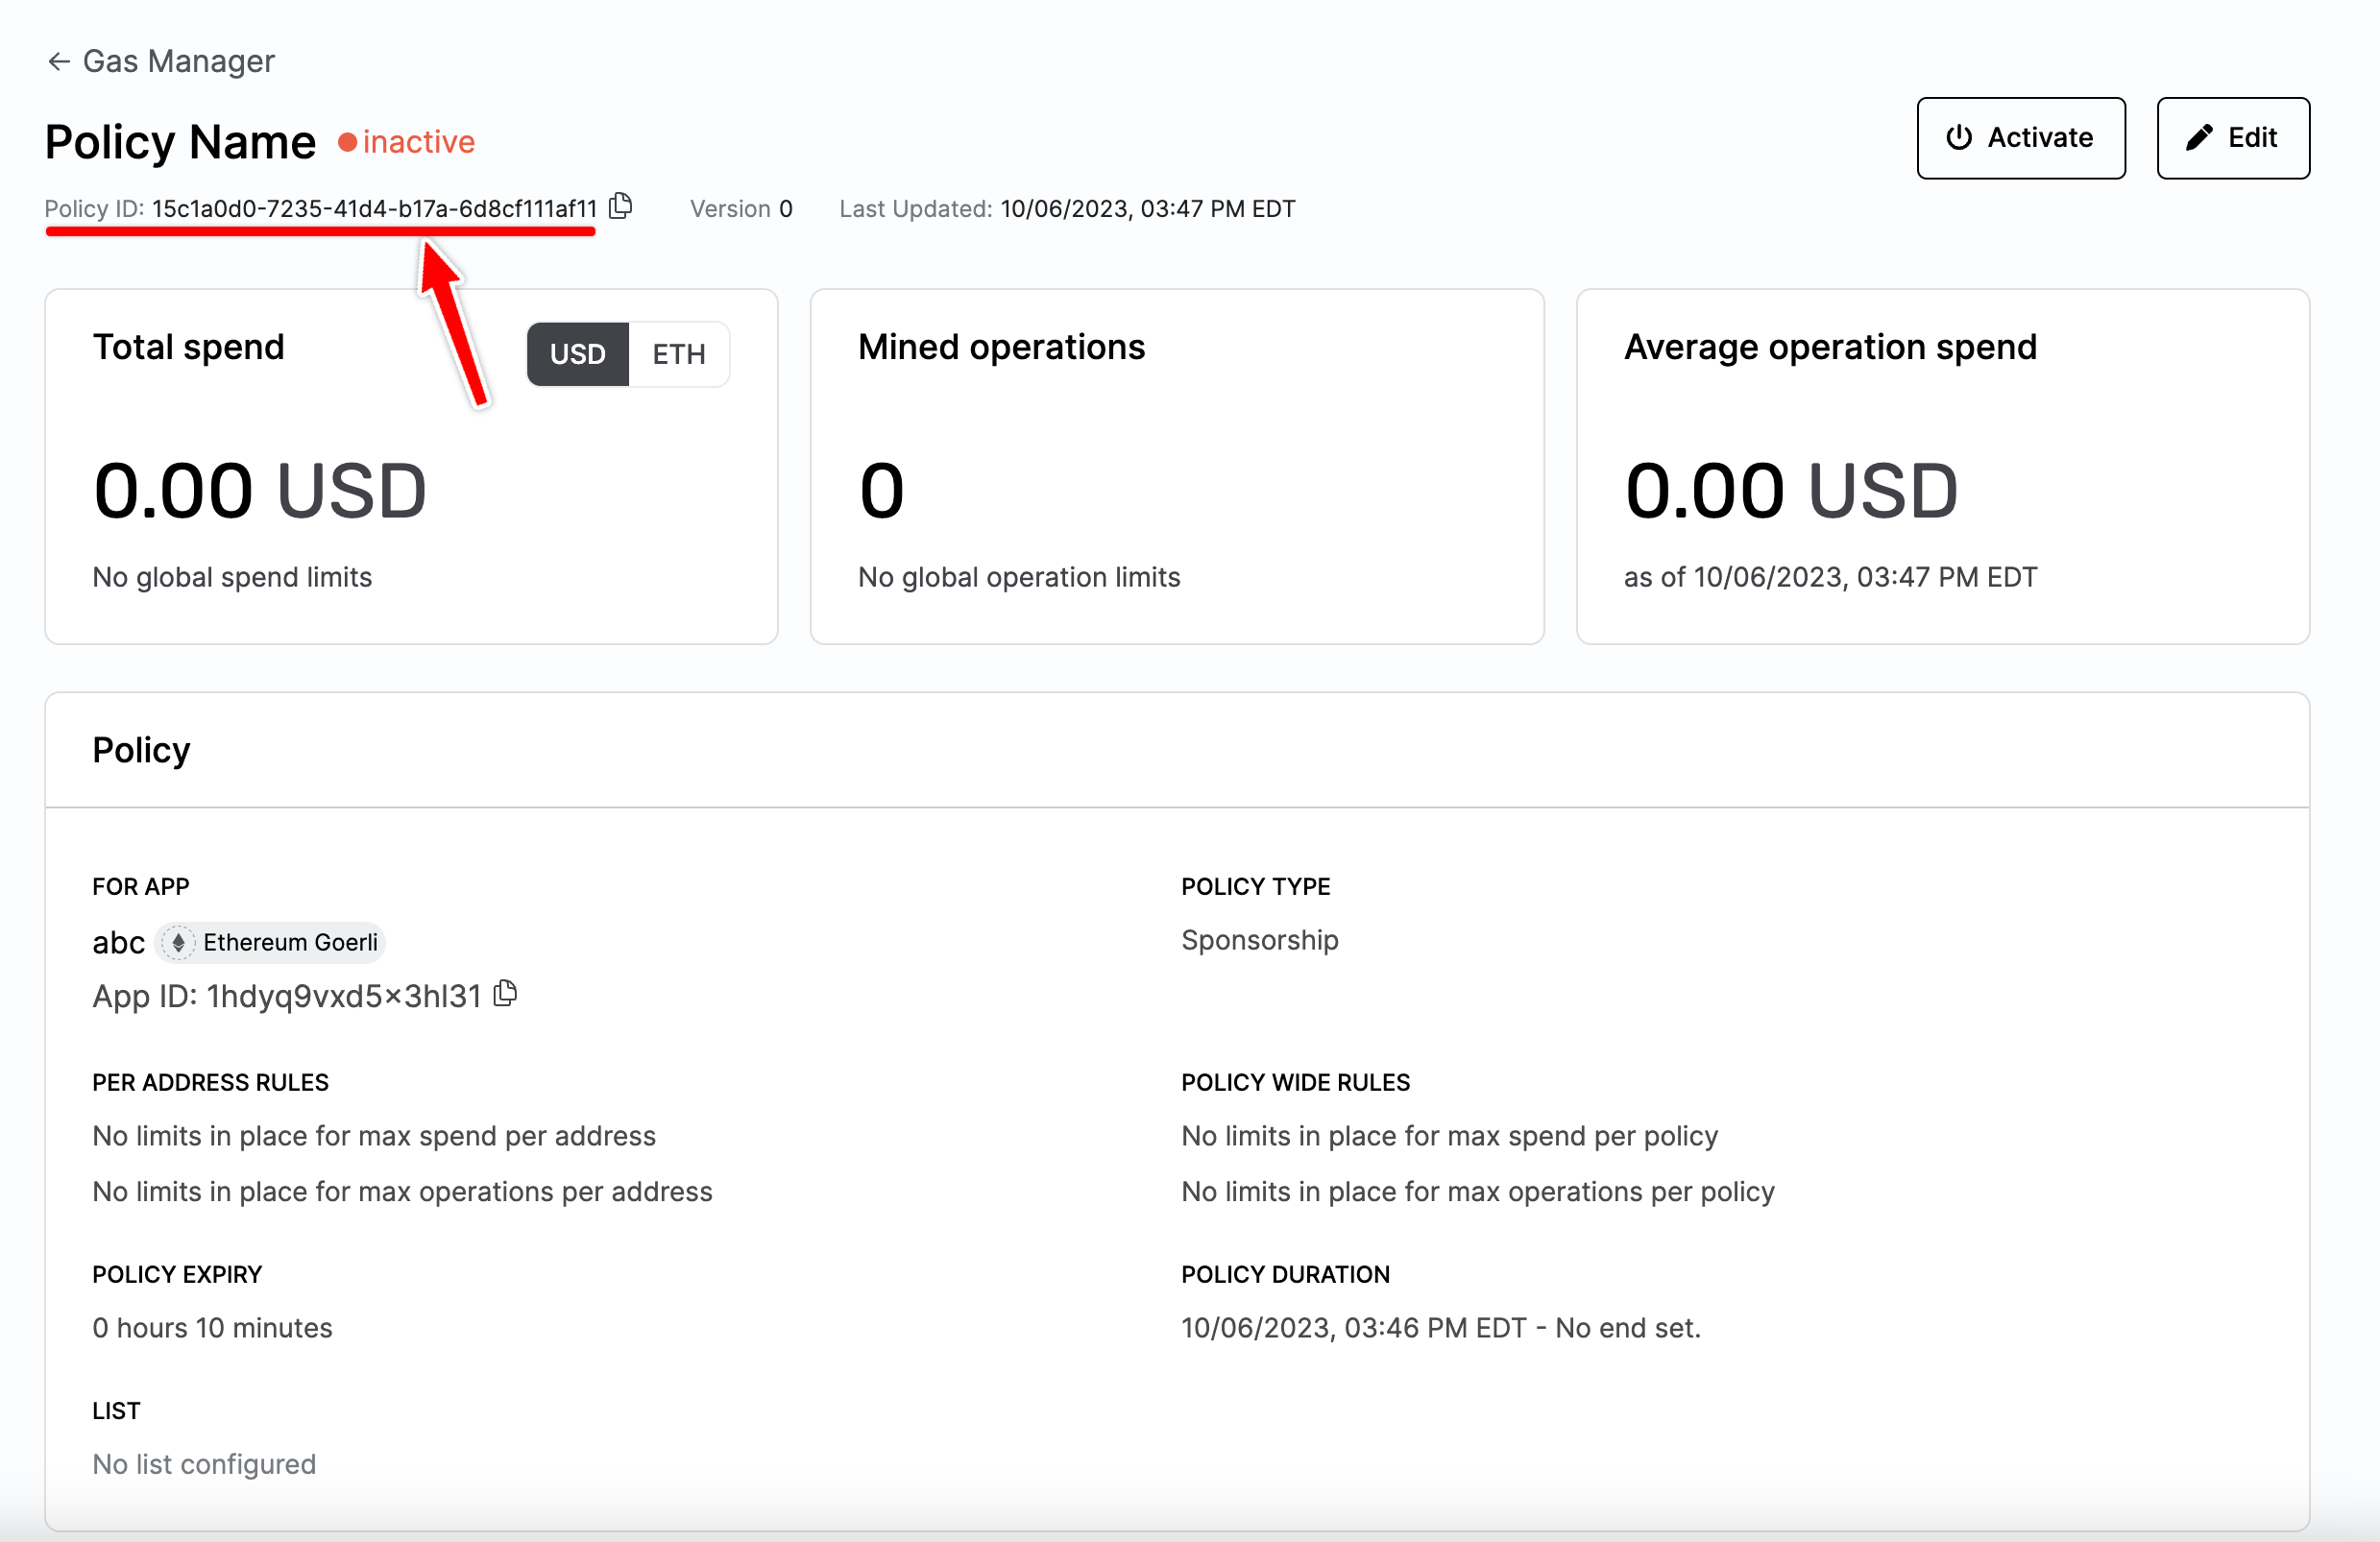
Once you have decided on policy rules for your app, create a policy in the Gas Manager dashboard.
Now you should have a Gas policy created with a policy id you can use to sponsor gas for your users.
Create a client
Now that you have an API key and a Policy ID, you can create a Smart Account Client to interact with the infrastructure.
import {
alchemy,
createAlchemySmartAccountClient,
sepolia,
} from "@account-kit/infra";
import { createLightAccount } from "@account-kit/smart-contracts";
// You can replace this with any signer you'd like
// We're using a LocalAccountSigner to generate a local key to sign with
import { LocalAccountSigner } from "@aa-sdk/core";
import { generatePrivateKey } from "viem/accounts";
const alchemyTransport = alchemy({
apiKey: "YOUR_API_KEY",
});
export const client = createAlchemySmartAccountClient({
transport: alchemyTransport,
policyId: "YOUR_POLICY_ID",
chain: sepolia,
account: await createLightAccount({
chain: sepolia,
transport: alchemyTransport,
signer: LocalAccountSigner.privateKeyToAccountSigner(generatePrivateKey()),
}),
});Send a user operation
The last step is to send a user operation using the client you just created.
import { client } from "./client";
const { hash } = await client.sendUserOperation({
uo: {
target: "0xTARGET_ADDRESS",
data: "0x",
value: 0n,
},
});