

Custom Social Providers with Auth0
In addition to the standard social login providers (Google, Facebook, Apple), Account Kit allows you to integrate custom OAuth providers through Auth0. This gives you flexibility to add authentication methods like GitHub, Twitter, LinkedIn, and more.
You can implement custom social providers in two ways:
- Pre-built UI Components - Quick implementation with minimal code
- Custom UI - Complete control over the user experience
Pre-built UI Components
Account Kit provides pre-built UI components that handle the entire custom social provider authentication flow with minimal code.
Step 1: Add Authentication Components to Your Page
Before configuring your authentication, first add one of the pre-built components to your application:
Using Modal Authentication
To add authentication in a modal popup:
import React from "react";
import { useAuthModal } from "@account-kit/react";
export default function MyPage() {
const { openAuthModal } = useAuthModal();
return <button onClick={openAuthModal}>Sign in</button>;
}For more details on modal configuration, see the Modal Authentication documentation.
Or:
Using Embedded Authentication
To embed authentication directly in your page:
import React from "react";
import { AuthCard } from "@account-kit/react";
export default function MyLoginPage() {
return (
<div className="flex flex-row p-4 bg-white border border-gray-200 rounded-lg">
<AuthCard />
</div>
);
}For more details on embedded authentication, see the Embedded Authentication documentation.
Step 2: Setting Up Auth0
Before configuring the UI components, you need to set up Auth0:
-
Create or log in to an account on auth0.com
-
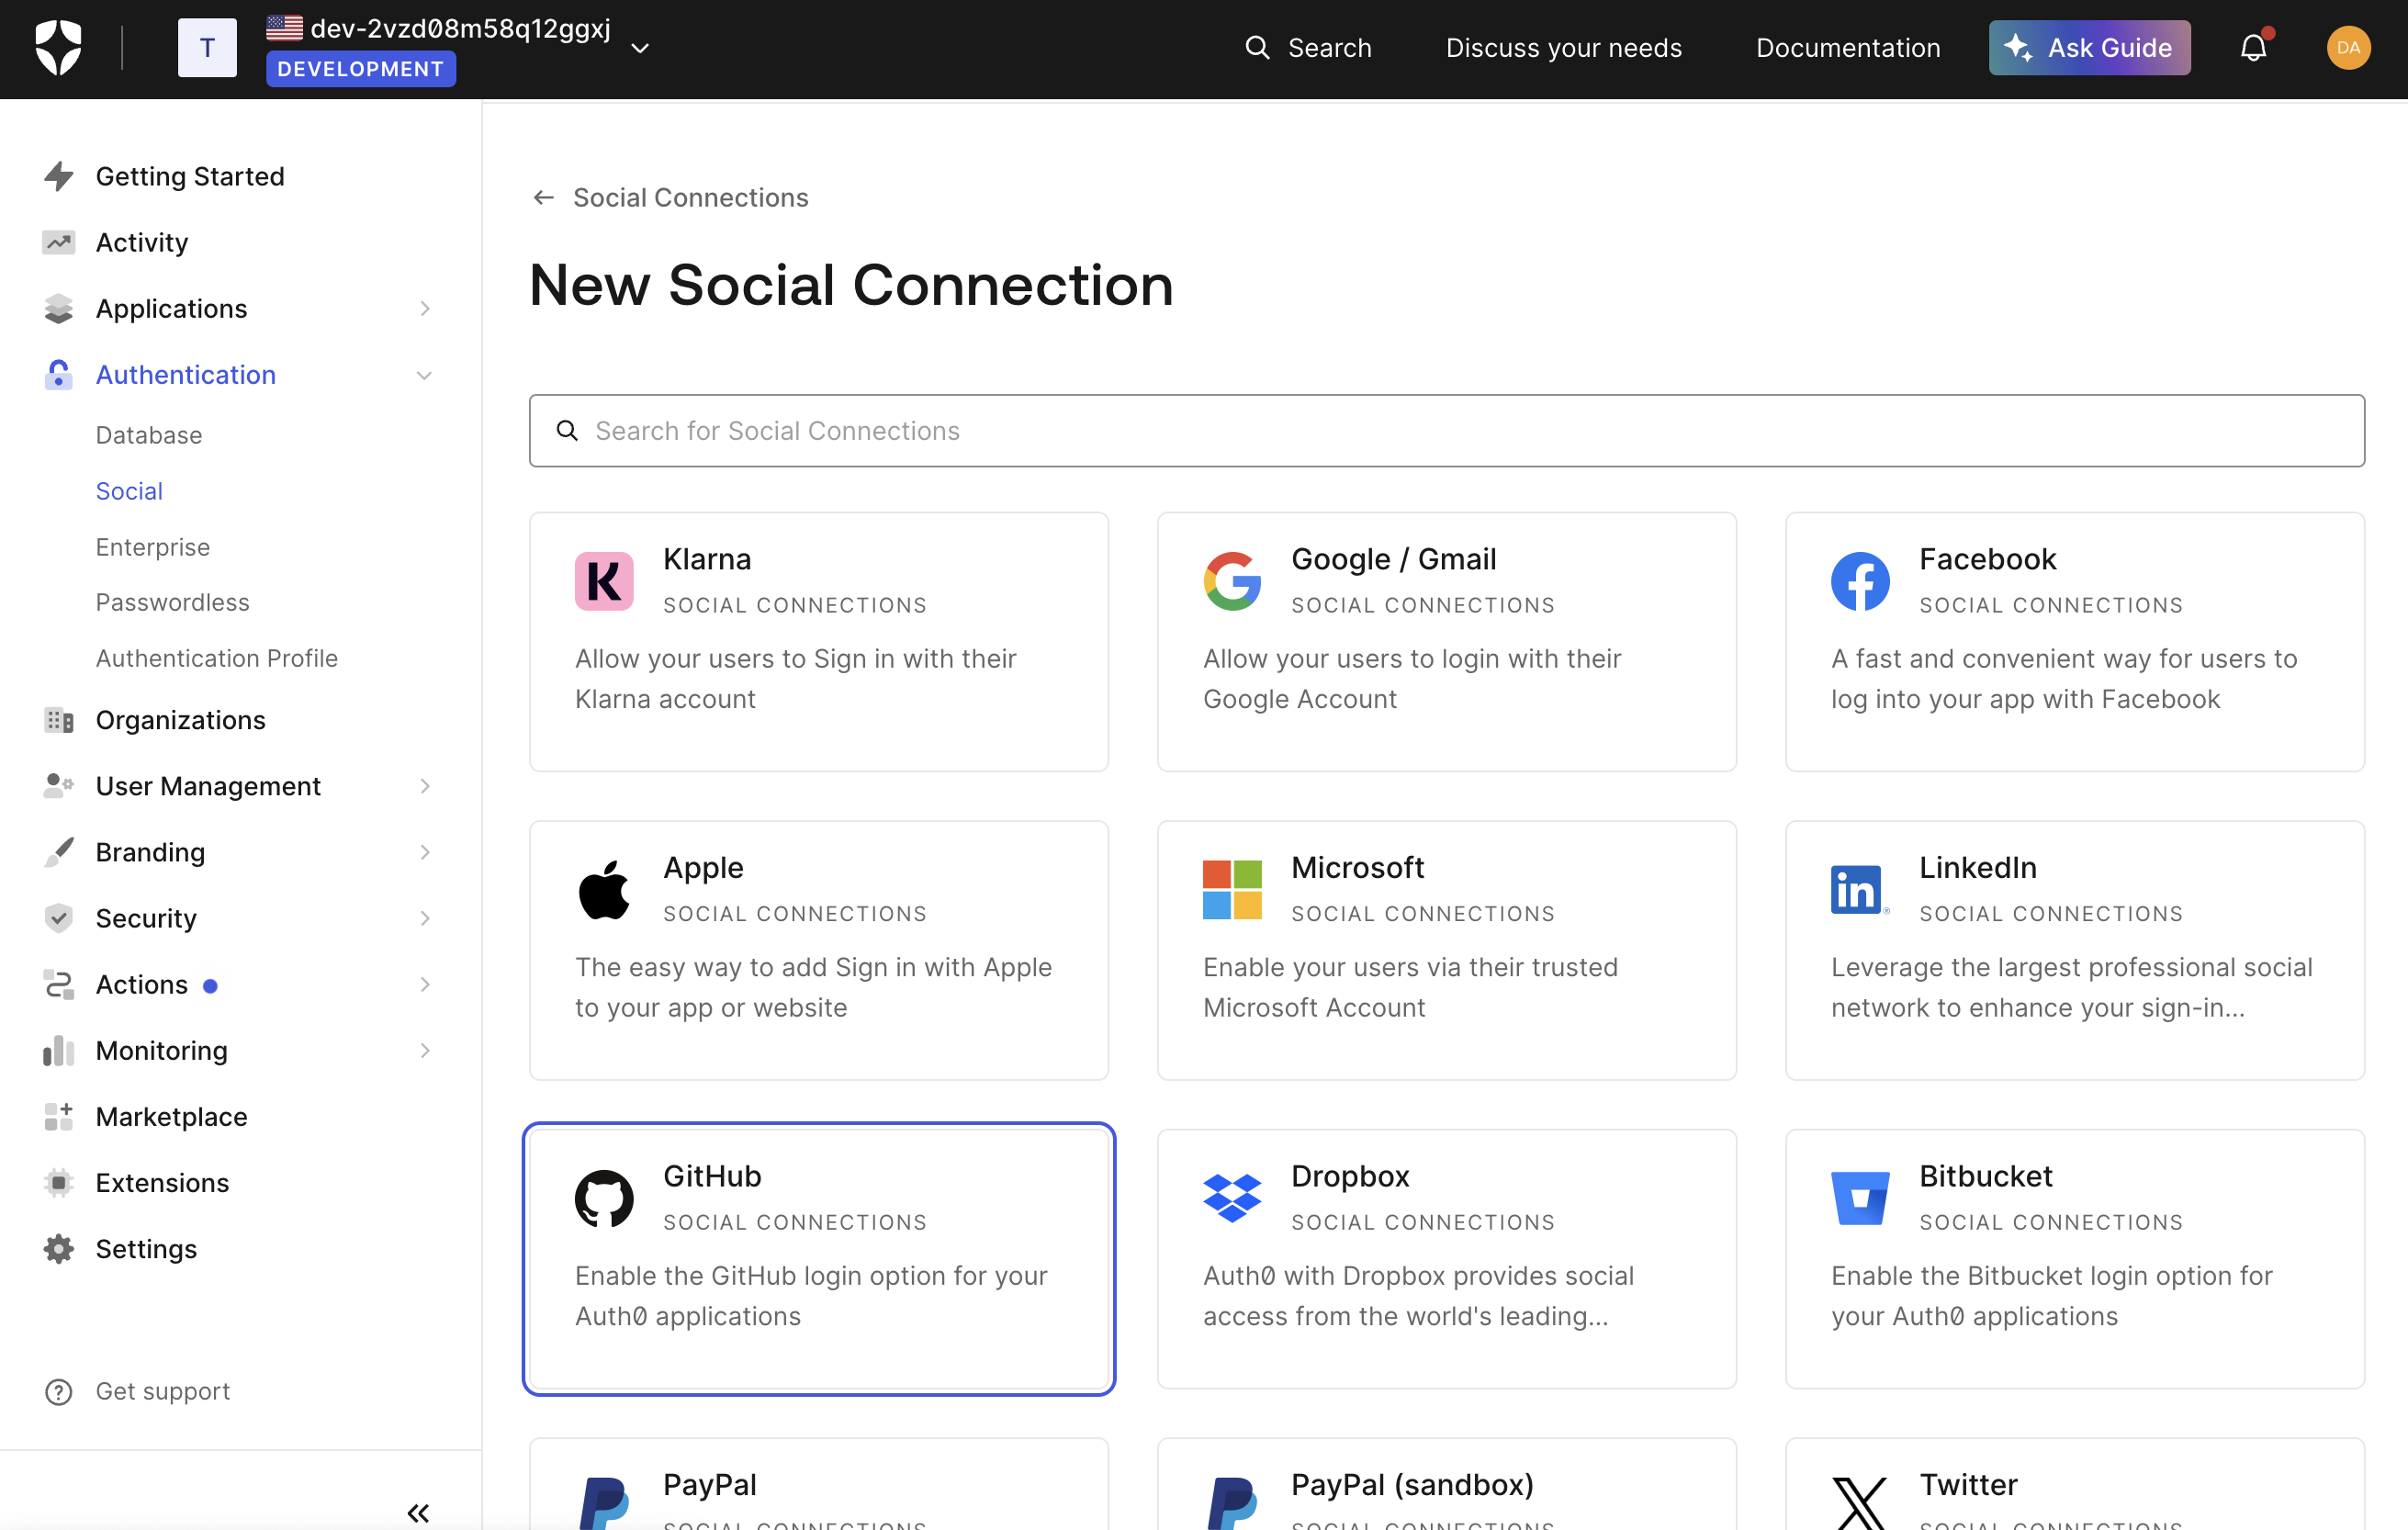
In the Auth0 dashboard, go to "Authentication → Social" in the sidebar
-
Click "Create Social Connection" and choose your desired provider (e.g., GitHub)
-
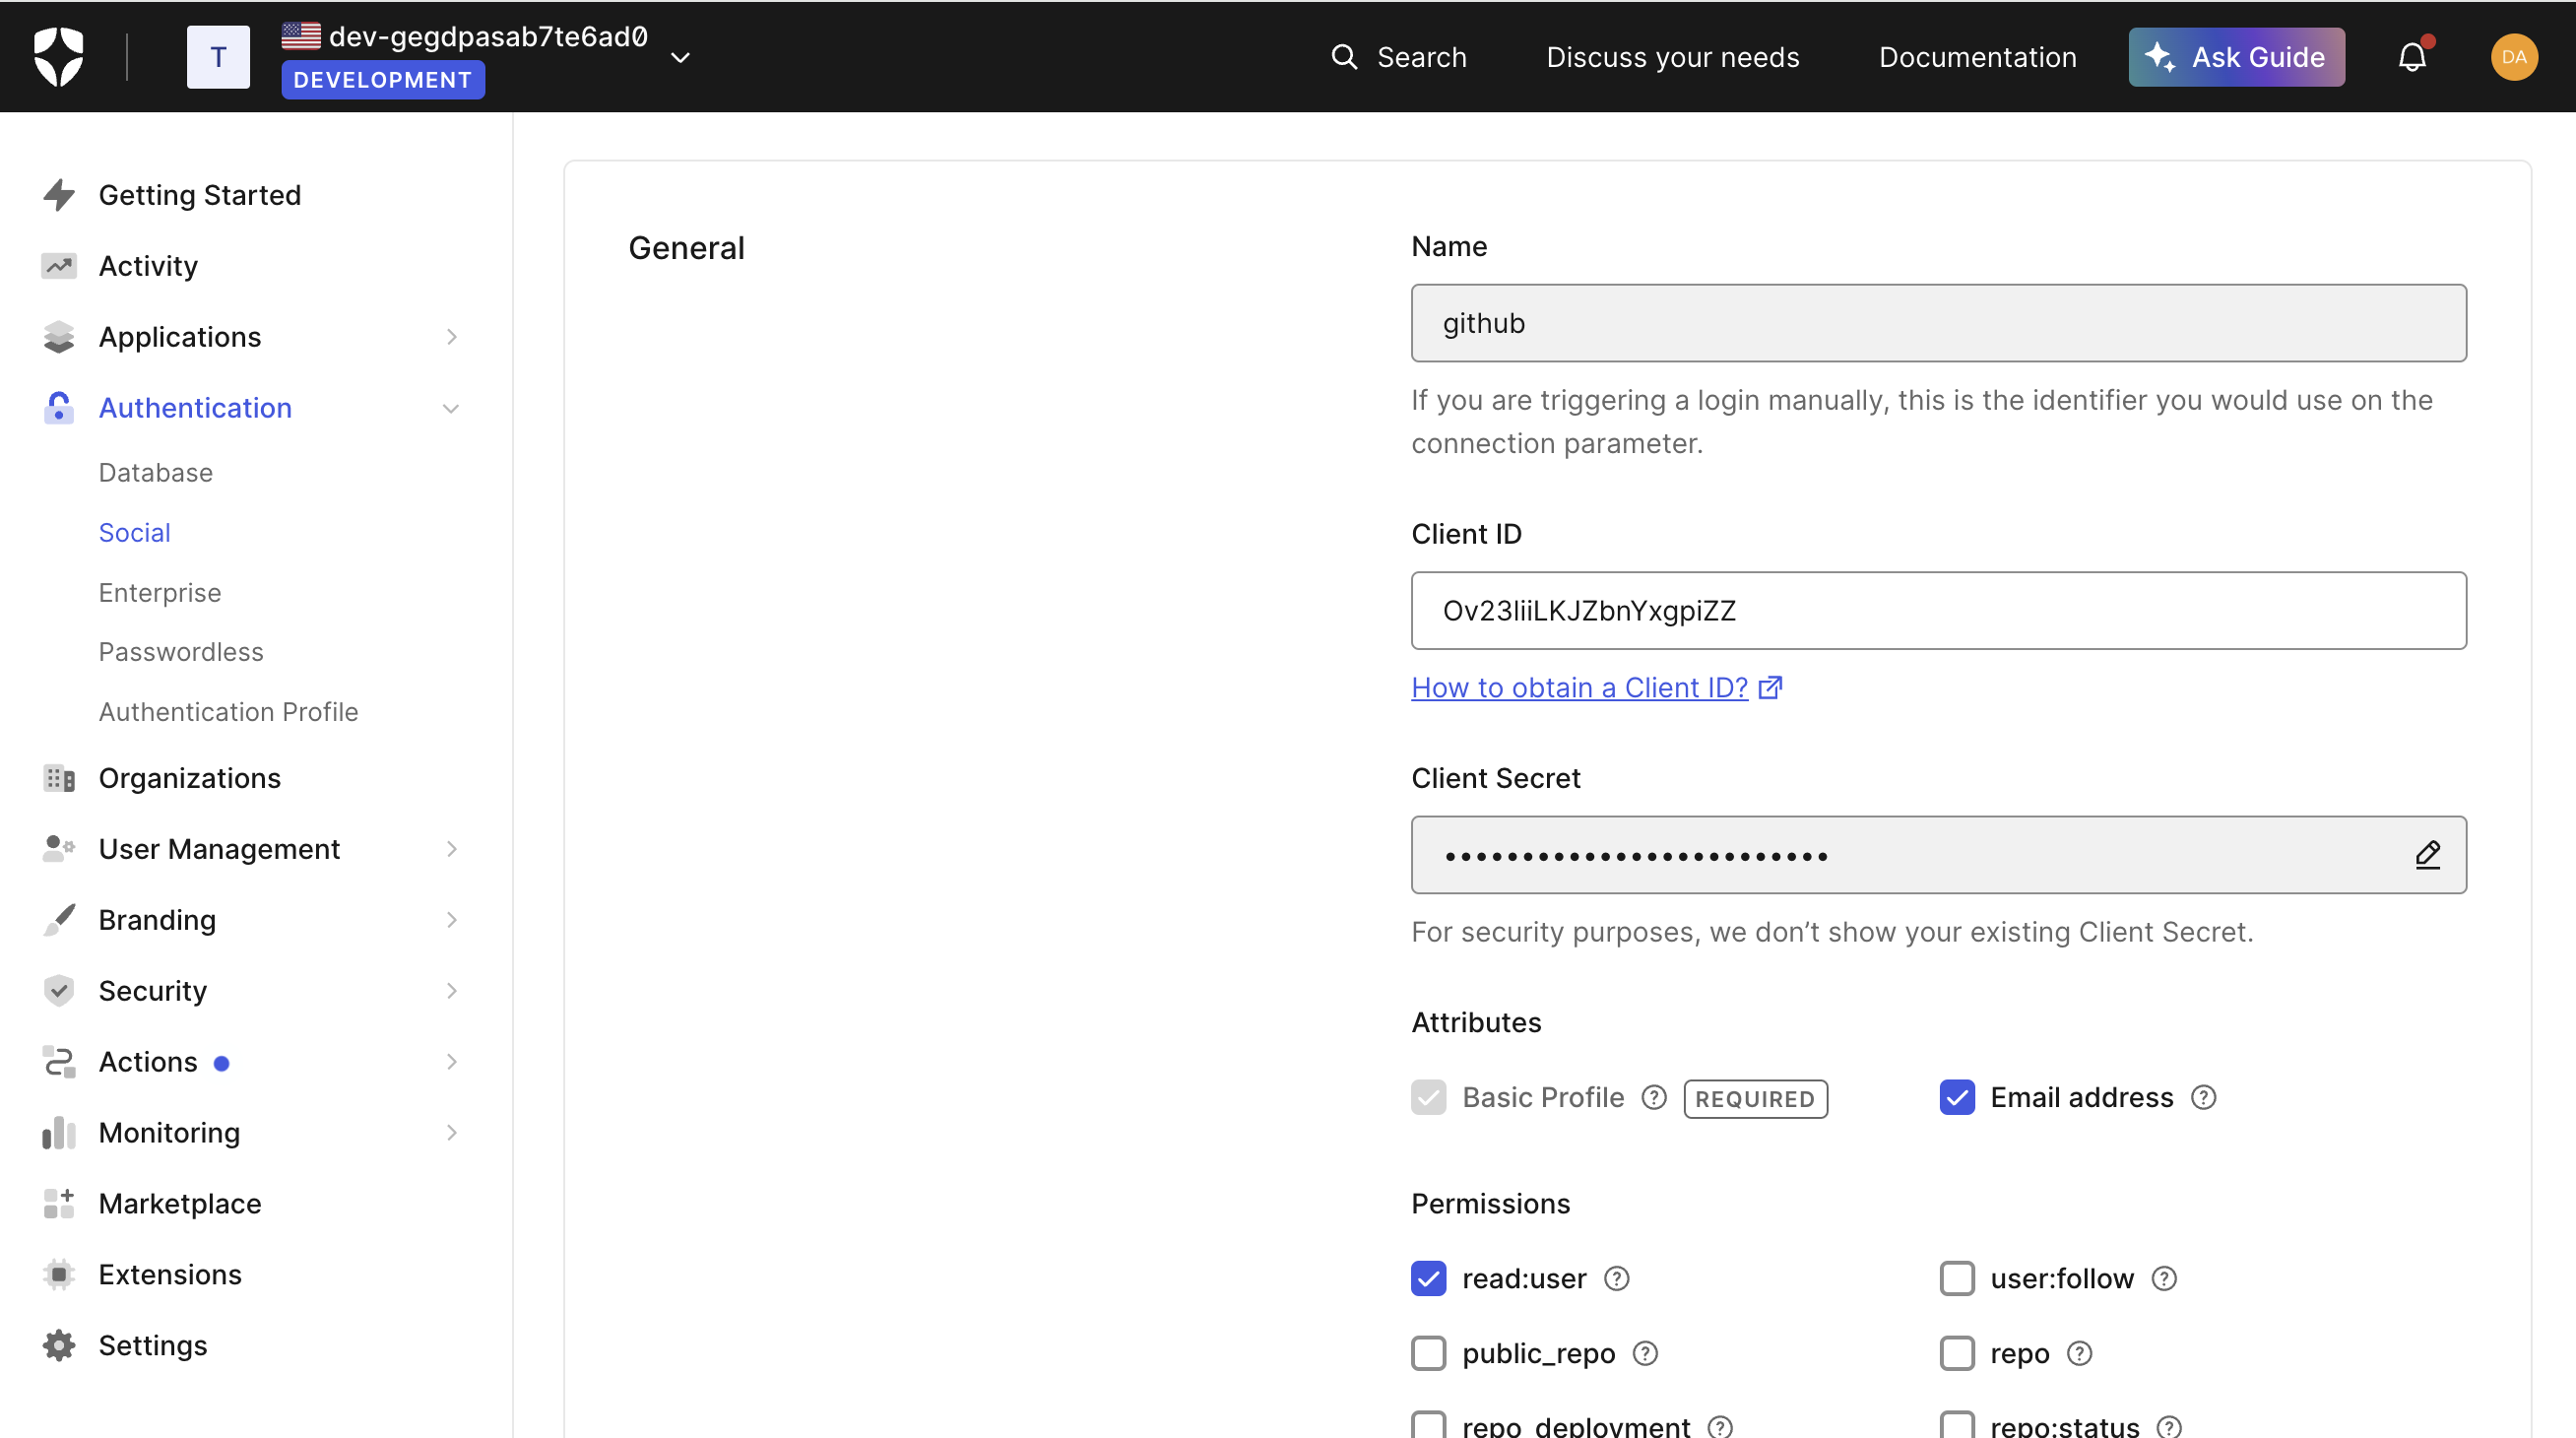
You can either use Auth0's dev keys for testing or add your own credentials. If you want to add your own, click the link that says "How to obtain a Client ID" and follow the directions.
-
Select the attributes and permissions you'll be requesting. It's recommended to at least request the user's email address as it can be useful for merging accounts from different providers later. Note that your users will be prompted for consent to share whatever information you request.
-
Note the "Name" field (e.g., "github") - you'll need this later for the
auth0Connectionparameter -
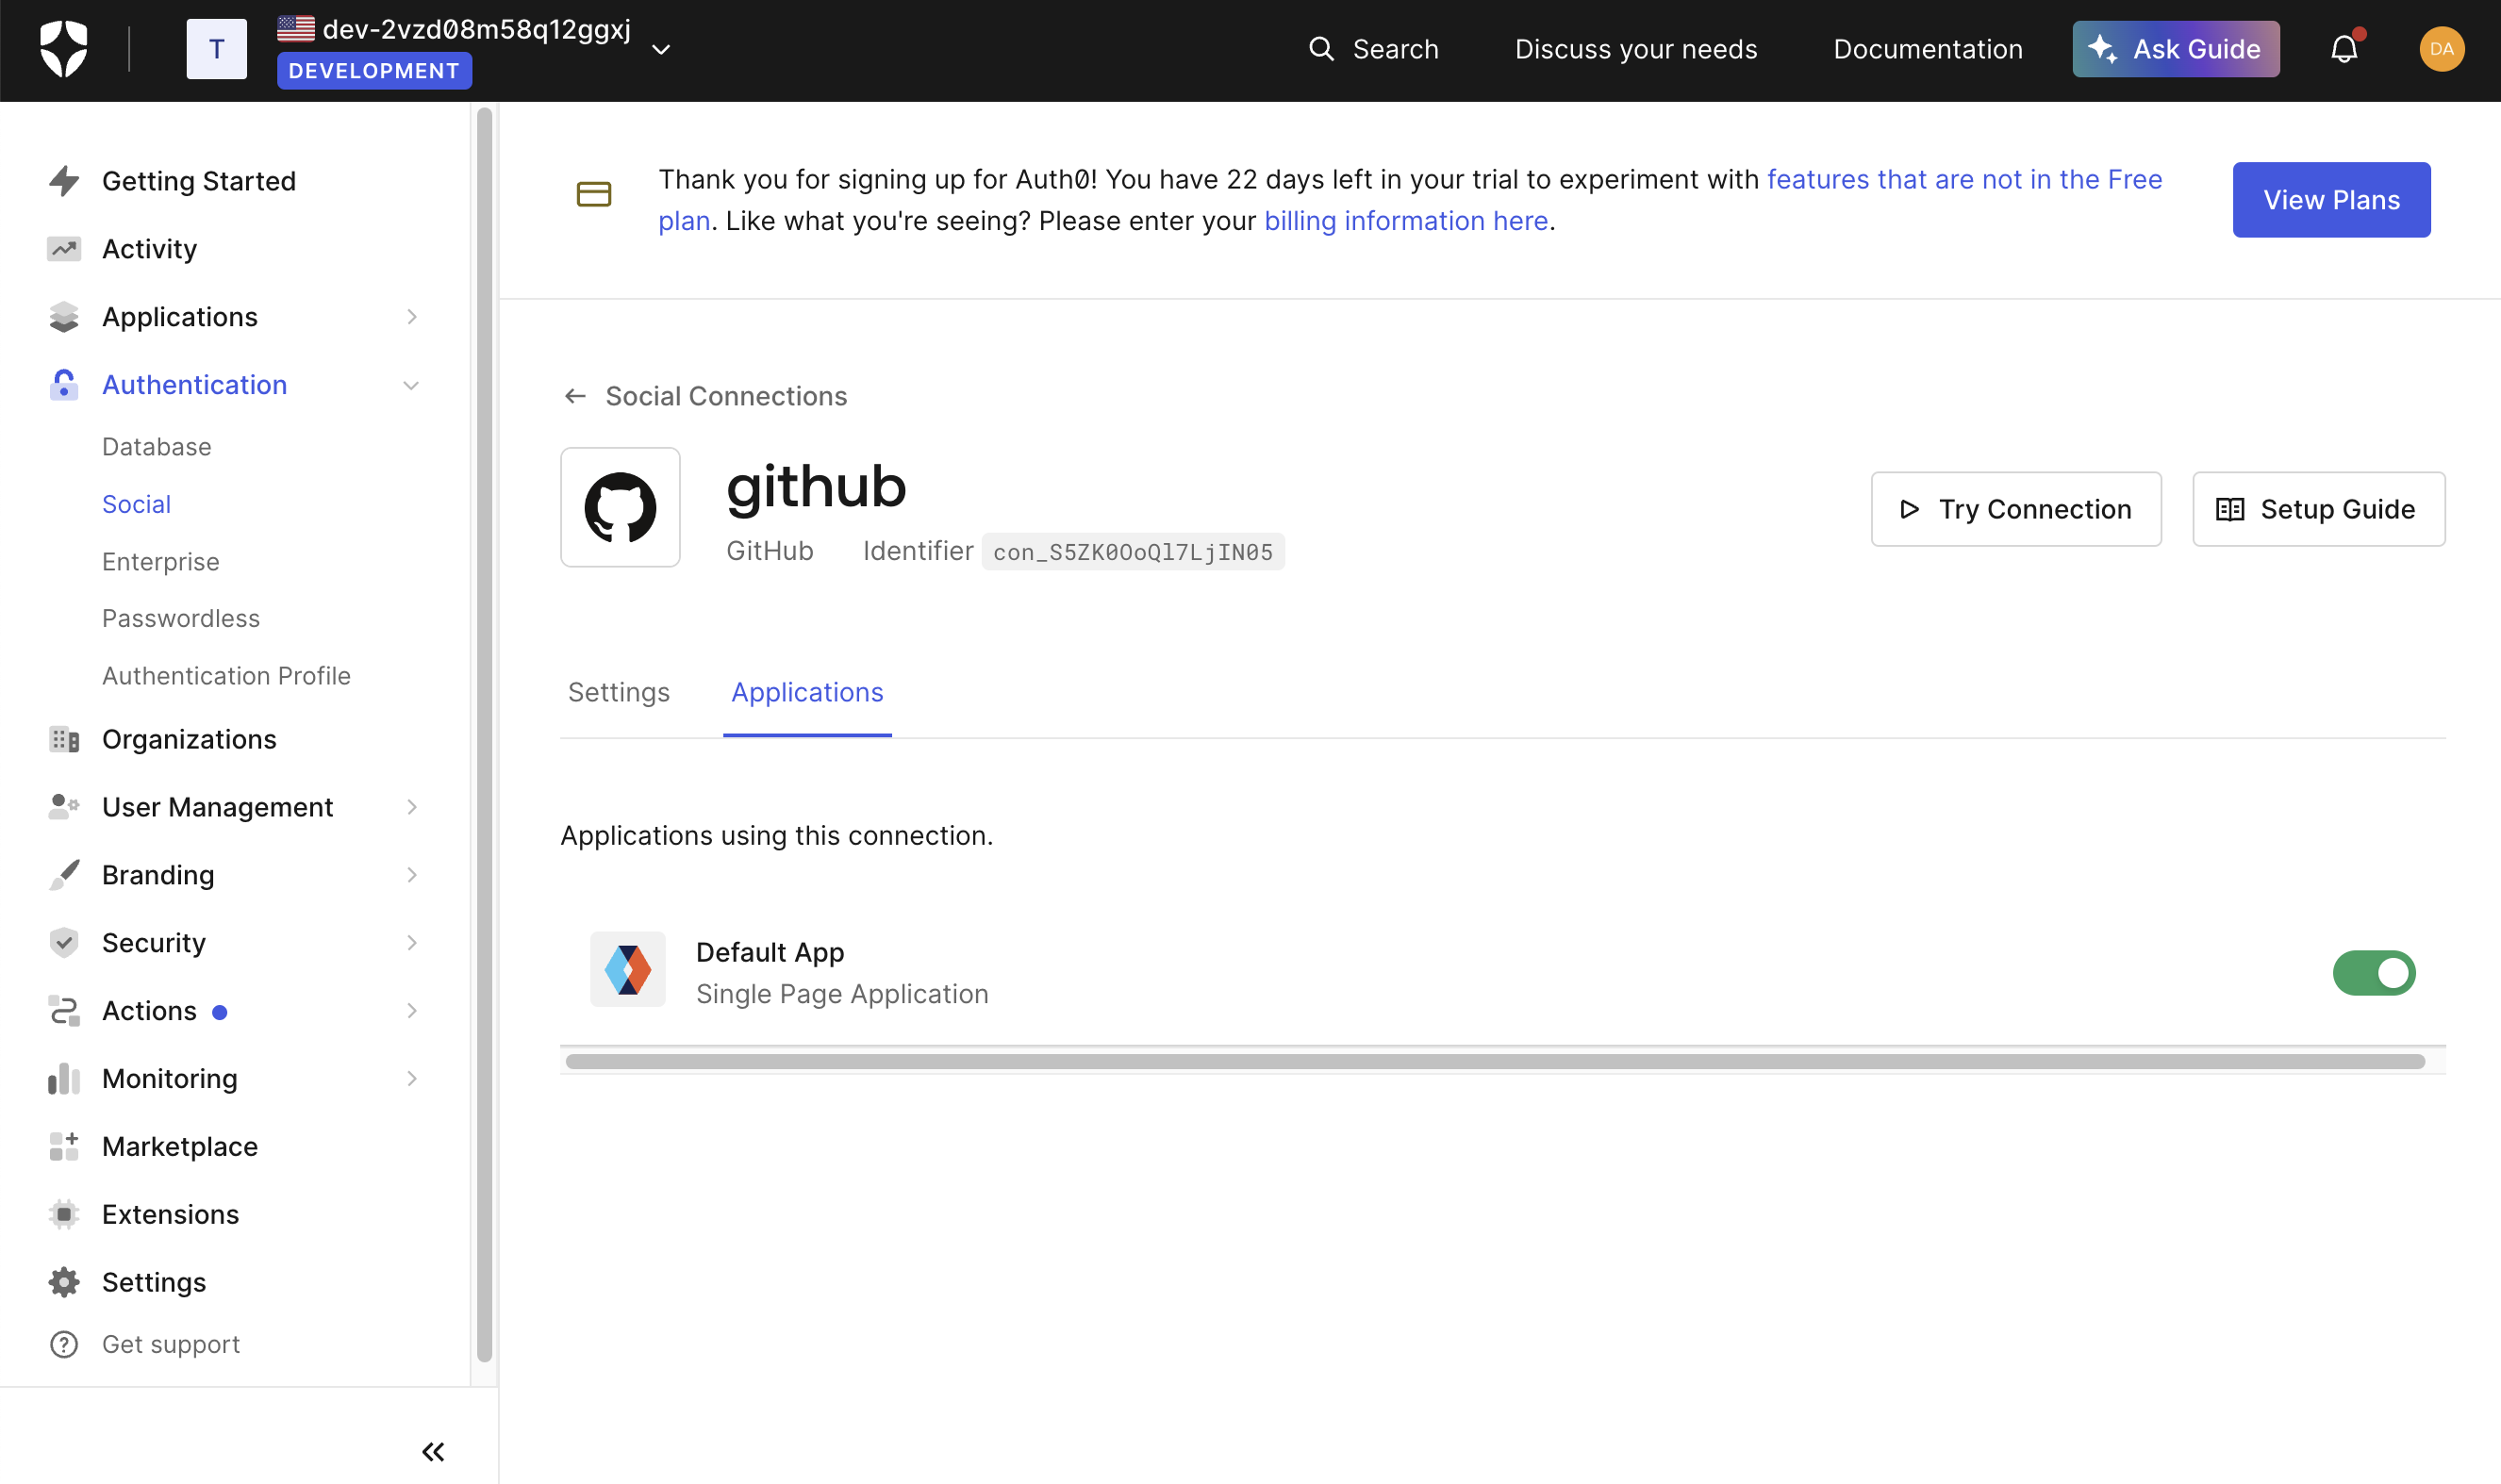
Enable the connection for your Auth0 application
-
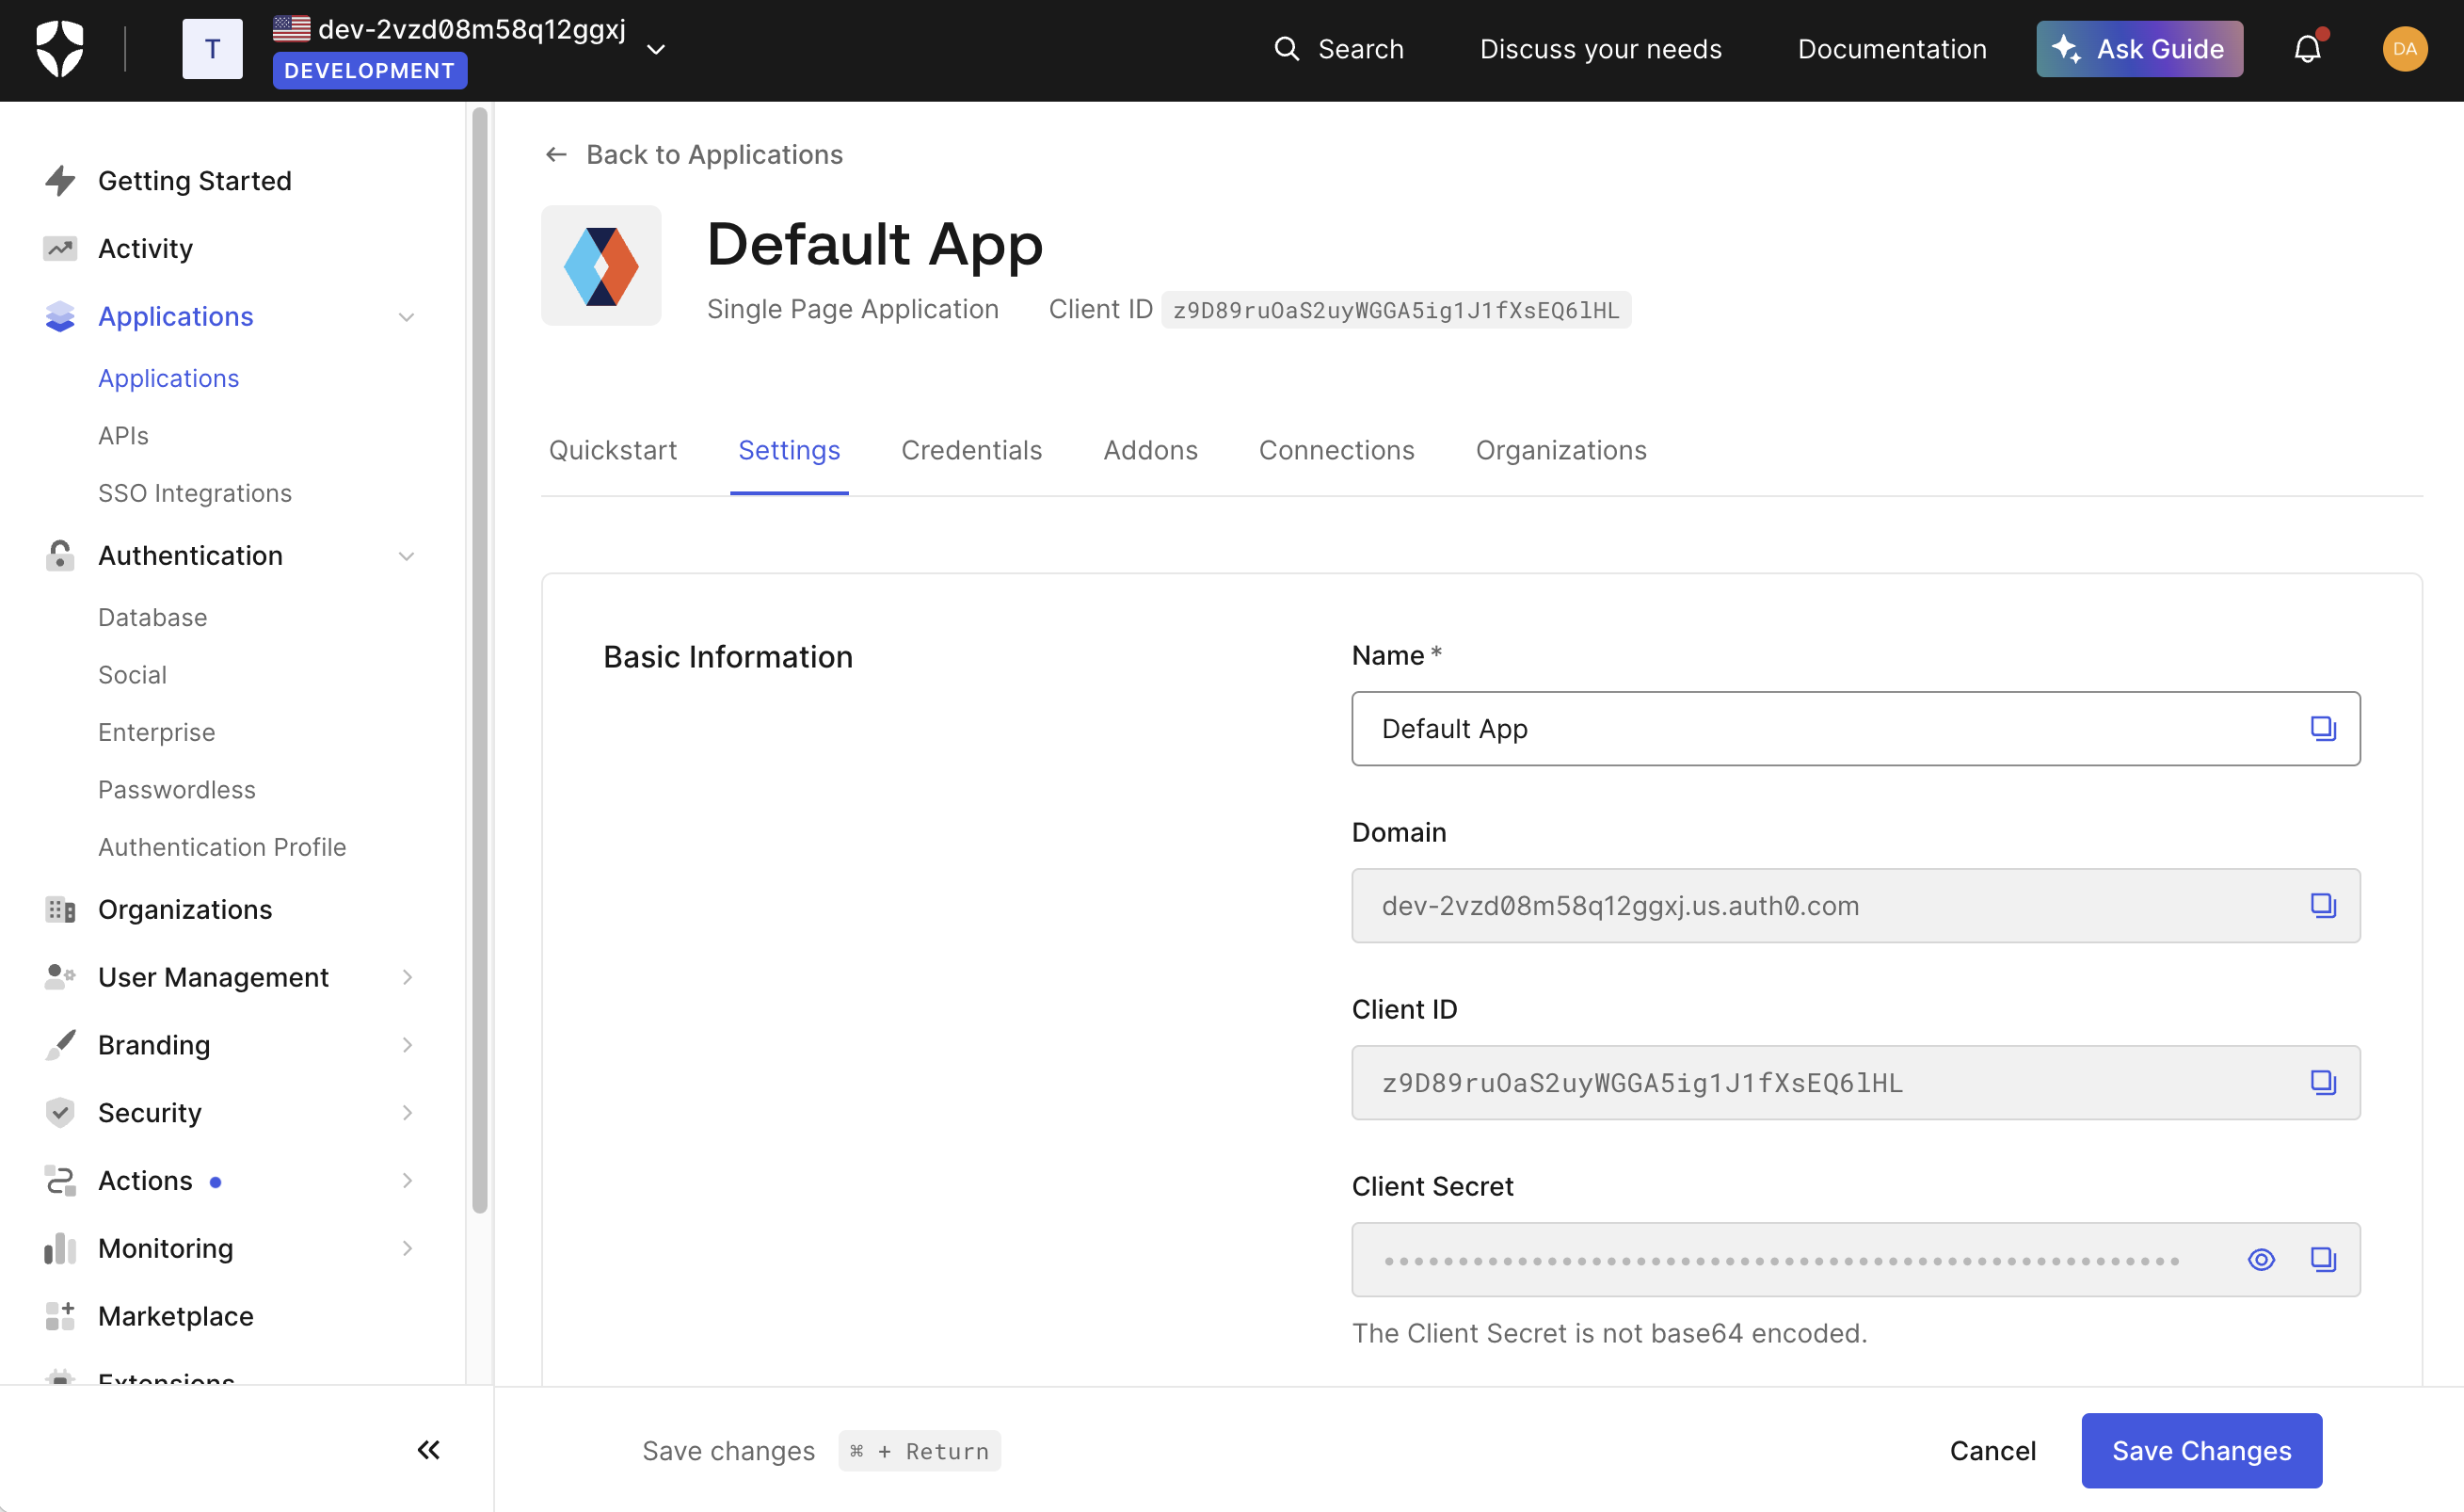
From your Auth0 dashboard, go to "Applications → Applications" in the sidebar
-
Select your application and note the "Domain", "Client ID", and "Client Secret"
-
Add these to your Account Kit dashboard in the embedded accounts auth config
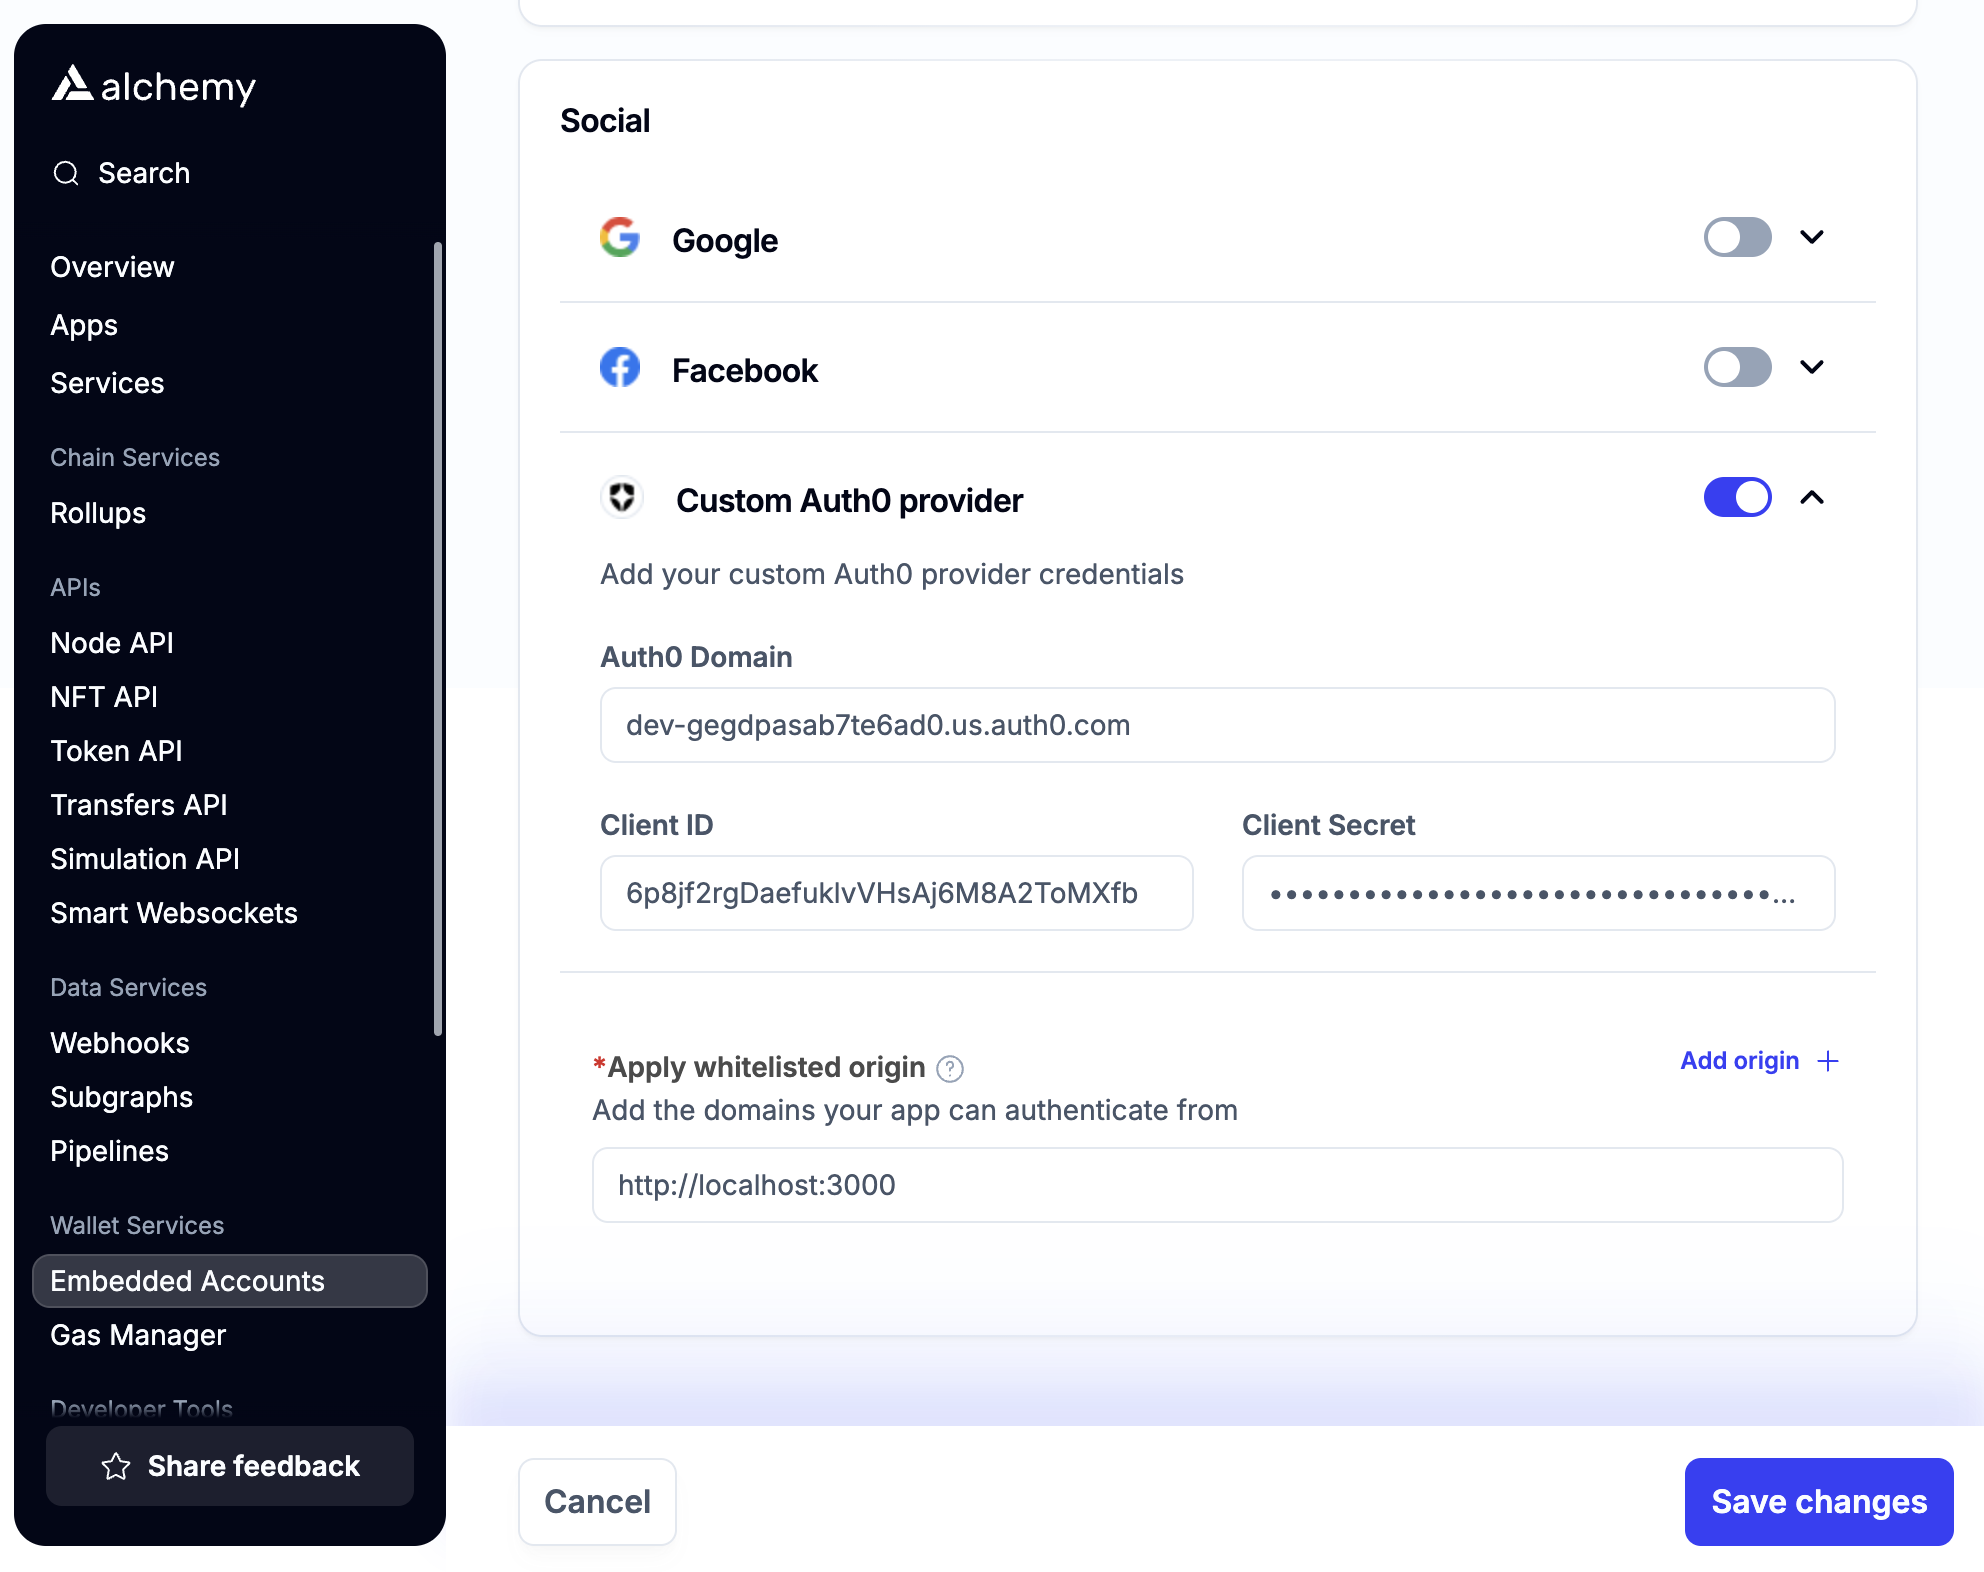
In addition to the "Client ID" and "Client Secret" fields, you must also fill in the "Auth0 Domain" field from the Auth0 dashboard.
Step 3: Configure Custom Social Providers in UI Components
After adding the components and setting up Auth0, configure the custom social providers in your application config:
import { AlchemyAccountsUIConfig, createConfig } from "@account-kit/react";
import { sepolia, alchemy } from "@account-kit/infra";
const uiConfig: AlchemyAccountsUIConfig = {
auth: {
sections: [
[
// Standard social providers
{ type: "social", authProviderId: "google", mode: "popup" },
// Custom social providers via Auth0
{
type: "social",
authProviderId: "auth0",
// Specify the Auth0 connection to use directly
auth0Connection: "github",
displayName: "GitHub",
// Custom logo URL for the provider
logoUrl:
"https://github.githubassets.com/assets/GitHub-Mark-ea2971cee799.png",
// Optional dark mode logo
logoUrlDark:
"https://github.githubassets.com/assets/GitHub-Mark-Light-ea2971cee799.png",
mode: "popup",
},
{
type: "social",
authProviderId: "auth0",
auth0Connection: "twitter",
displayName: "Twitter",
logoUrl: "https://path-to-twitter-logo.png",
mode: "popup",
},
],
],
},
};
export const config = createConfig(
{
transport: alchemy({ apiKey: "your-api-key" }),
chain: sepolia,
// Required for popup flow
enablePopupOauth: true,
},
uiConfig
);Auth0 custom providers accept the following configuration:
type SocialAuthType = {
type: "social";
// For Auth0 custom providers
authProviderId: "auth0";
// Auth0-specific connection string (e.g., "github", "twitter")
auth0Connection?: string;
// Display name for the provider button
displayName?: string;
// URL for the provider's logo
logoUrl: string;
// URL for the provider's logo in dark mode (optional, `logoUrl` is used for both light & dark mode if not provided)
logoUrlDark?: string;
// Authentication mode (popup or redirect)
mode: "popup" | "redirect";
// Optional: Specifies the requested OAuth scope
scope?: string;
// Optional: Specifies additional claims to be included in the authentication token
claims?: string;
};You can find the full type definition in the Account Kit source code.
For more details on UI component customization, see the UI Components documentation.
Custom UI
If you need complete control over the user experience, you can implement your own custom UI for custom social providers using Account Kit hooks.
Step 1: Set Up Auth0
Before implementing in your React app, you need to configure Auth0 as described in the Setting Up Auth0 section above.
Step 2: Implement Authentication in Your React App
Use the useAuthenticate hook to implement Auth0 authentication:
import { useAuthenticate } from "@account-kit/react";
// Inside your component
const { authenticate } = useAuthenticate();
// Option 1: Generic Auth0 login (shows Auth0 provider selection screen)
const handleAuth0Login = () => {
authenticate(
{
type: "oauth",
authProviderId: "auth0",
mode: "popup", // or "redirect"
},
{
onSuccess: () => {
// Authentication successful!
},
onError: (error) => {
// Handle error
},
}
);
};
// Option 2: Direct provider login (bypasses Auth0 selection screen)
const handleGitHubLogin = () => {
authenticate(
{
type: "oauth",
authProviderId: "auth0",
auth0Connection: "github", // Use the connection name from Auth0
mode: "popup", // or "redirect"
},
{
onSuccess: () => {
// Authentication successful!
},
onError: (error) => {
// Handle error
},
}
);
};Option 1 will take users to an Auth0 login page where they can choose the authentication method they want. Option 2 sends users directly to the specific provider's login (like GitHub) without showing the Auth0 selection screen, which usually provides a better user experience.
The value passed to auth0Connection should match the string that appeared in the "Name" field of your auth provider connection in the Auth0 dashboard.
Step 3: Track Authentication Status
Use the useSignerStatus hook to determine if the user is authenticated:
import { useSignerStatus } from "@account-kit/react";
// Inside your component
const { isConnected } = useSignerStatus();
// You can use isConnected to conditionally render UI