

Log users into Embedded Accounts
In this section of the Embedded Accounts Quickstart, you'll create your app's log in experience, where users will log in to receive an email to authenticate themselves on your app, creating their Embedded Account.
Add Log In User Interface
To create the user log in experience, add a src/components folder and create src/components/LogInCard.tsx with the following:
"use client";

import { useCallback, useState } from "react";

export const LogInCard = () => {
  const [email, setEmail] = useState<string>("");
  const onEmailChange = useCallback(
    (e: React.ChangeEvent<HTMLInputElement>) => setEmail(e.target.value),
    []
  );

  return (
    <div className="flex min-w-80 flex-row justify-center rounded-lg bg-white p-10 dark:bg-[#0F172A]">
      <div className="flex flex-col gap-8">
        <div className="text-[18px] font-semibold">
          Log in to the Embedded Accounts Demo!
        </div>
        <div className="flex flex-col justify-between gap-6">
          <input
            className="rounded-lg border border-[#CBD5E1] p-3 dark:border-[#475569] dark:bg-slate-700 dark:text-white dark:placeholder:text-[#E2E8F0]"
            type="email"
            placeholder="Enter your email"
            value={email}
            onChange={onEmailChange}
          />
          <button className="w-full transform rounded-lg bg-[#363FF9] p-3 font-semibold text-[#FBFDFF] transition duration-500 ease-in-out hover:scale-105">
            Log in
          </button>
        </div>
      </div>
    </div>
  );
};
src/components/LogInCard.tsx creates the initial UI for your app. You'll configure the Alchemy Signer in the next step to send the user an email and authenticate them.
Now, incorporate these components into your app by updating the src/app/page.tsx file as follows:
"use client";
import { LogInCard } from "../components/LogInCard";
export default function Home() {
return (
<main className="flex min-h-screen flex-col items-center justify-center gap-4 p-24">
<LogInCard />
</main>
);
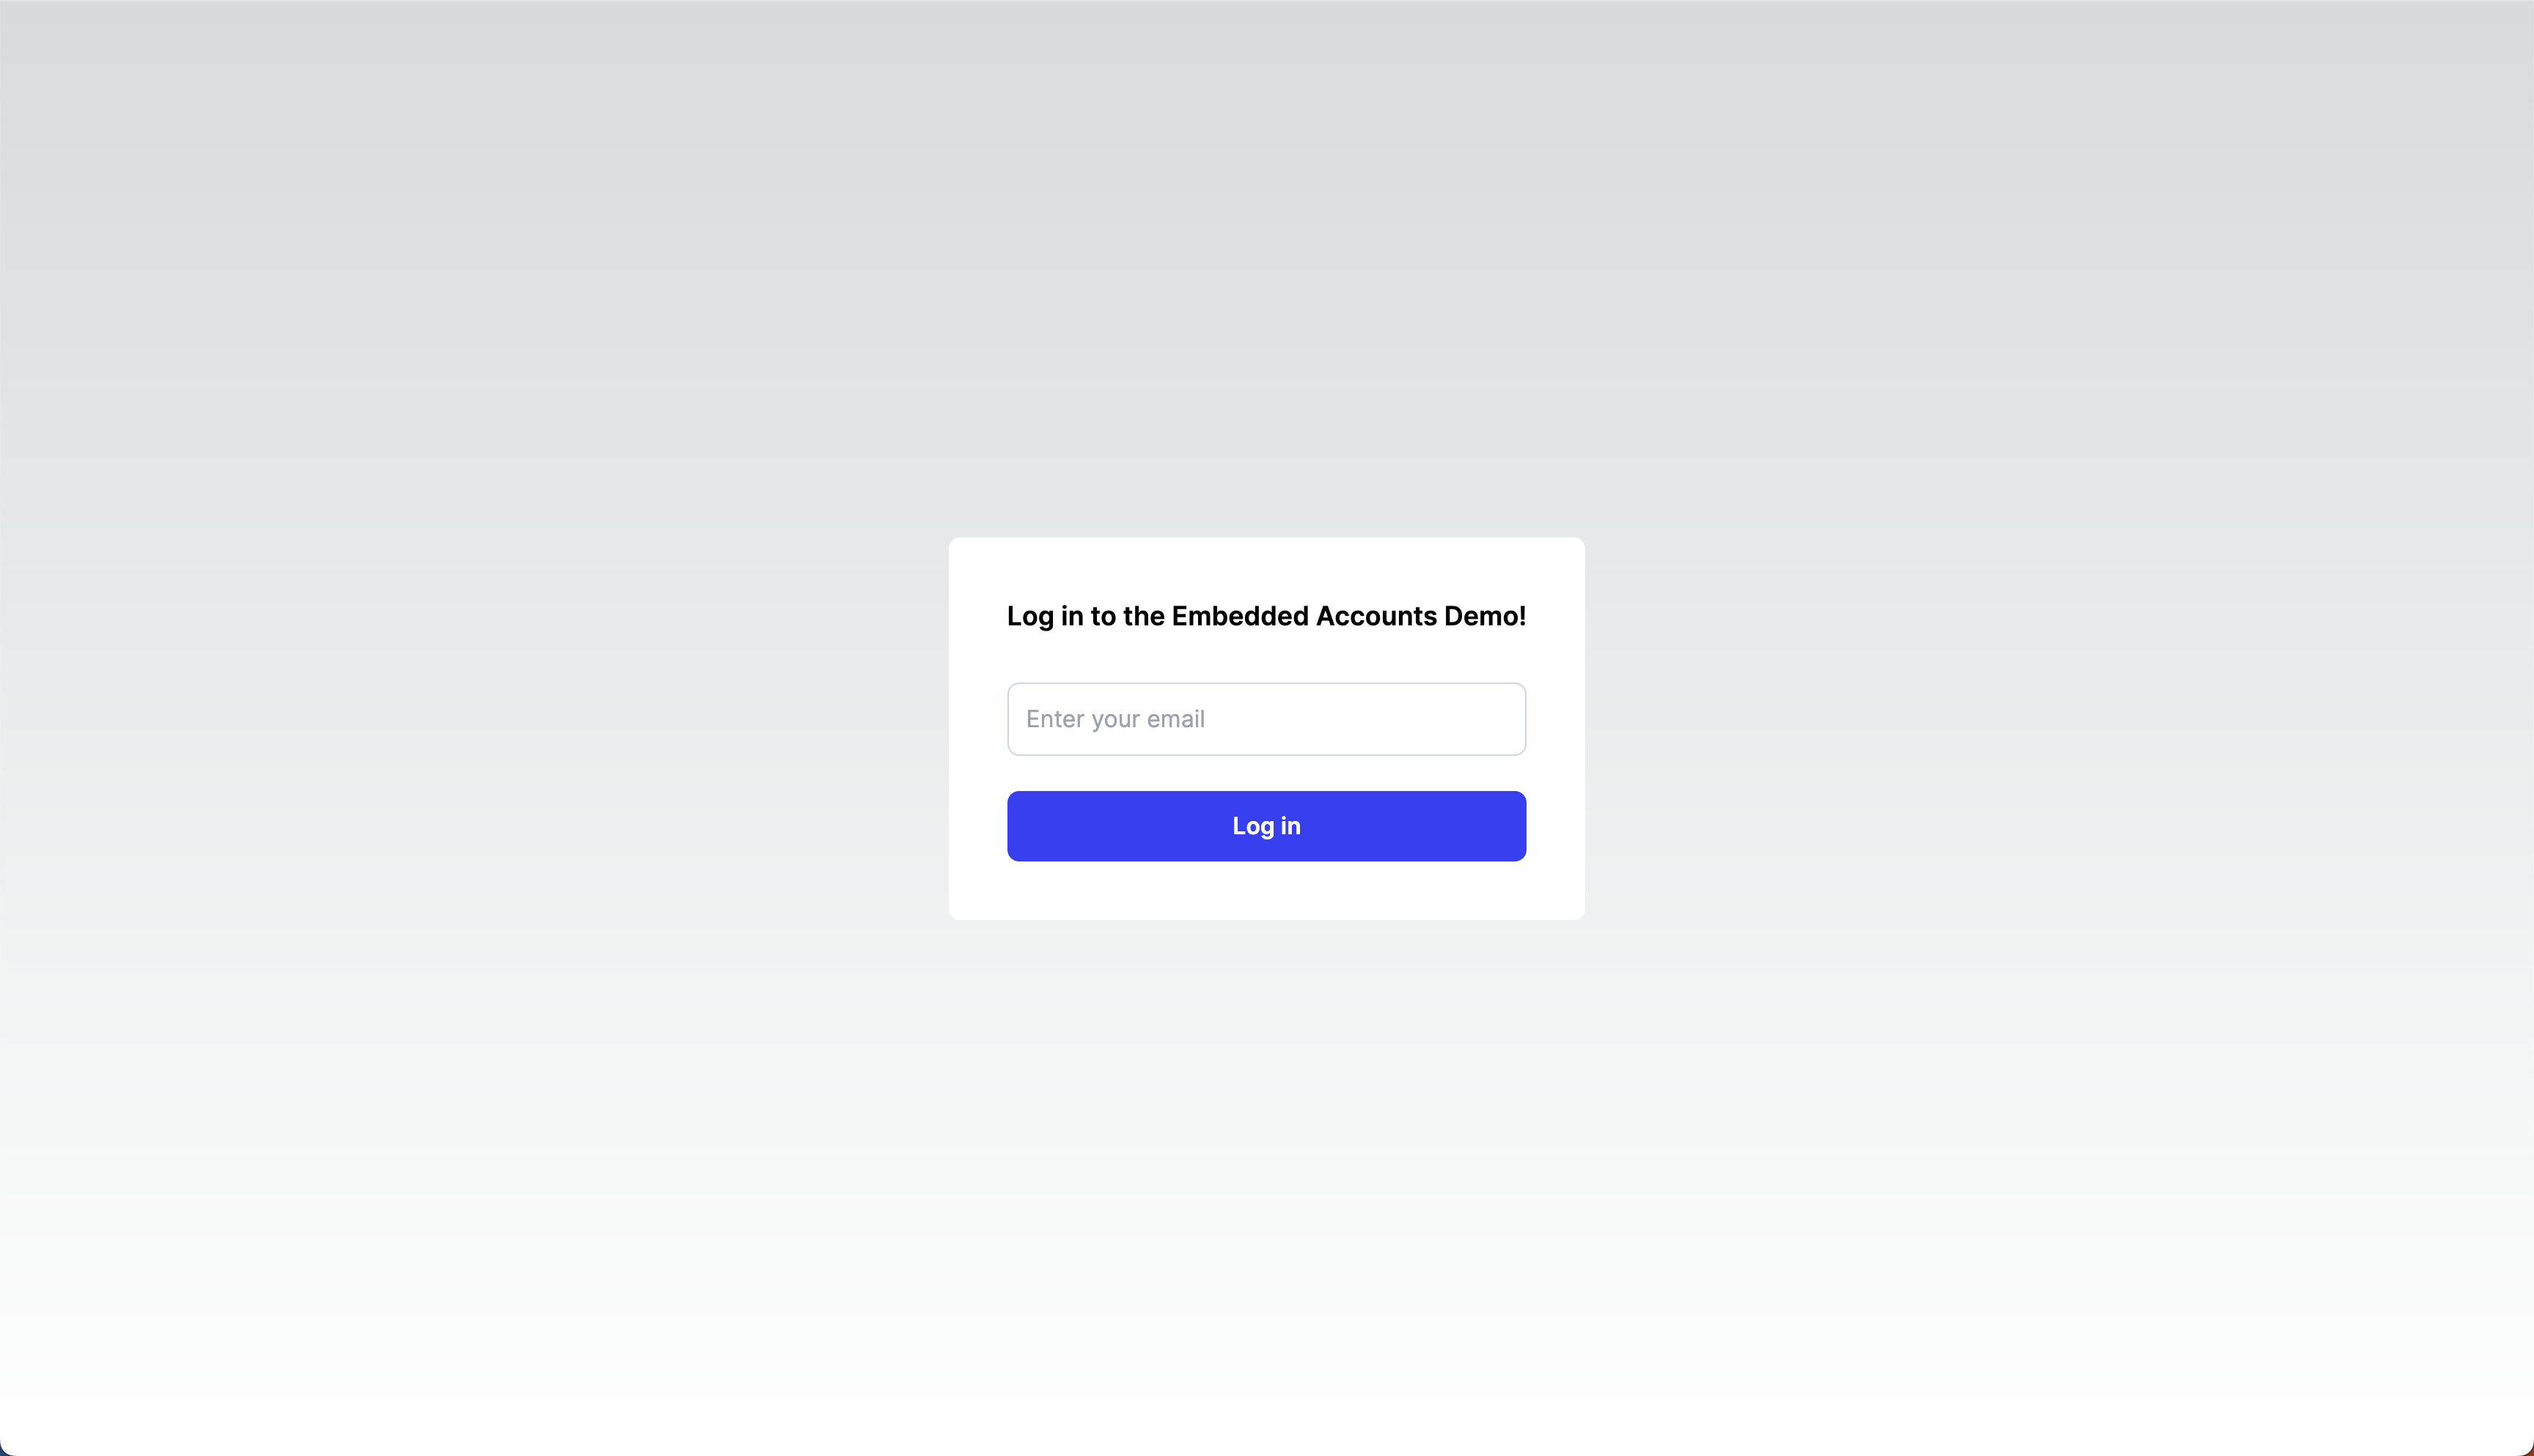
}You've now added the UI for your app! At this point, run the application using:
npm run devYour application should look like the below image!
In the next step, you'll add functionality to the “Log In” button to send an email to the user to authenticate them.
Support Email Auth with Alchemy Signer
To support email authentication using the Alchemy Signer to created Embedded Accounts:
- update your
src/components/LogInCard.tsxfile. - add a UI card called
src/app/components/ProfileCard.tsxto display a user's Embedded Account address and their authenticated email when they redirect from the email they receive to log into your app. - update the UI in
src/app/page.tsxto render either thesrc/app/components/LogInCard.tsxorsrc/app/components/ProfileCard.tsxif the user has authenticated upon redirect from email.
Your app should now contain these code files:
"use client";

import { useAccount, useAuthenticate } from "@alchemy/aa-alchemy/react";
import { useCallback, useState } from "react";

export const LogInCard = () => {
  const [email, setEmail] = useState<string>("");
  const onEmailChange = useCallback(
    (e: React.ChangeEvent<HTMLInputElement>) => setEmail(e.target.value),
    []
  );
  const { authenticate, isPending: isAuthenticatingUser } = useAuthenticate();
  const { isLoadingAccount } = useAccount({
    type: "MultiOwnerModularAccount",
    skipCreate: true,
  });

  return (
    <div className="flex min-w-80 flex-row justify-center rounded-lg bg-white p-10 dark:bg-[#0F172A]">
      {isAuthenticatingUser || isLoadingAccount ? (
        <div className="text-[18px] font-semibold">Check your email!</div>
      ) : (
        <div className="flex flex-col gap-8">
          <div className="text-[18px] font-semibold">
            Log in to the Embedded Accounts Demo!
          </div>
          <div className="flex flex-col justify-between gap-6">
            <input
              className="rounded-lg border border-[#CBD5E1] p-3 dark:border-[#475569] dark:bg-slate-700 dark:text-white dark:placeholder:text-[#E2E8F0]"
              type="email"
              placeholder="Enter your email"
              value={email}
              onChange={onEmailChange}
            />
            <button
              className="w-full transform rounded-lg bg-[#363FF9] p-3 font-semibold text-[#FBFDFF] transition duration-500 ease-in-out hover:scale-105"
              onClick={() => authenticate({ type: "email", email })}
            >
              Log in
            </button>
          </div>
        </div>
      )}
    </div>
  );
};
You've now added the full authentication flow for users to create Embedded Accounts. At this point, run the application using:
npm run devThe experience should look like the video below!