

Alchemy Signer
The Alchemy Signer is a SmartAccountSigner that is powered by Alchemy's Signer Infrastructure. Using the Alchemy Signer, you can get started building embedded accounts with just an Alchemy API key!
Learn how to set up your account config, create an AlchemySigner, log users in with email auth, and create a embedded account with our signer to enable email, passkeys (i.e. biometrics), and soon social auth flows!
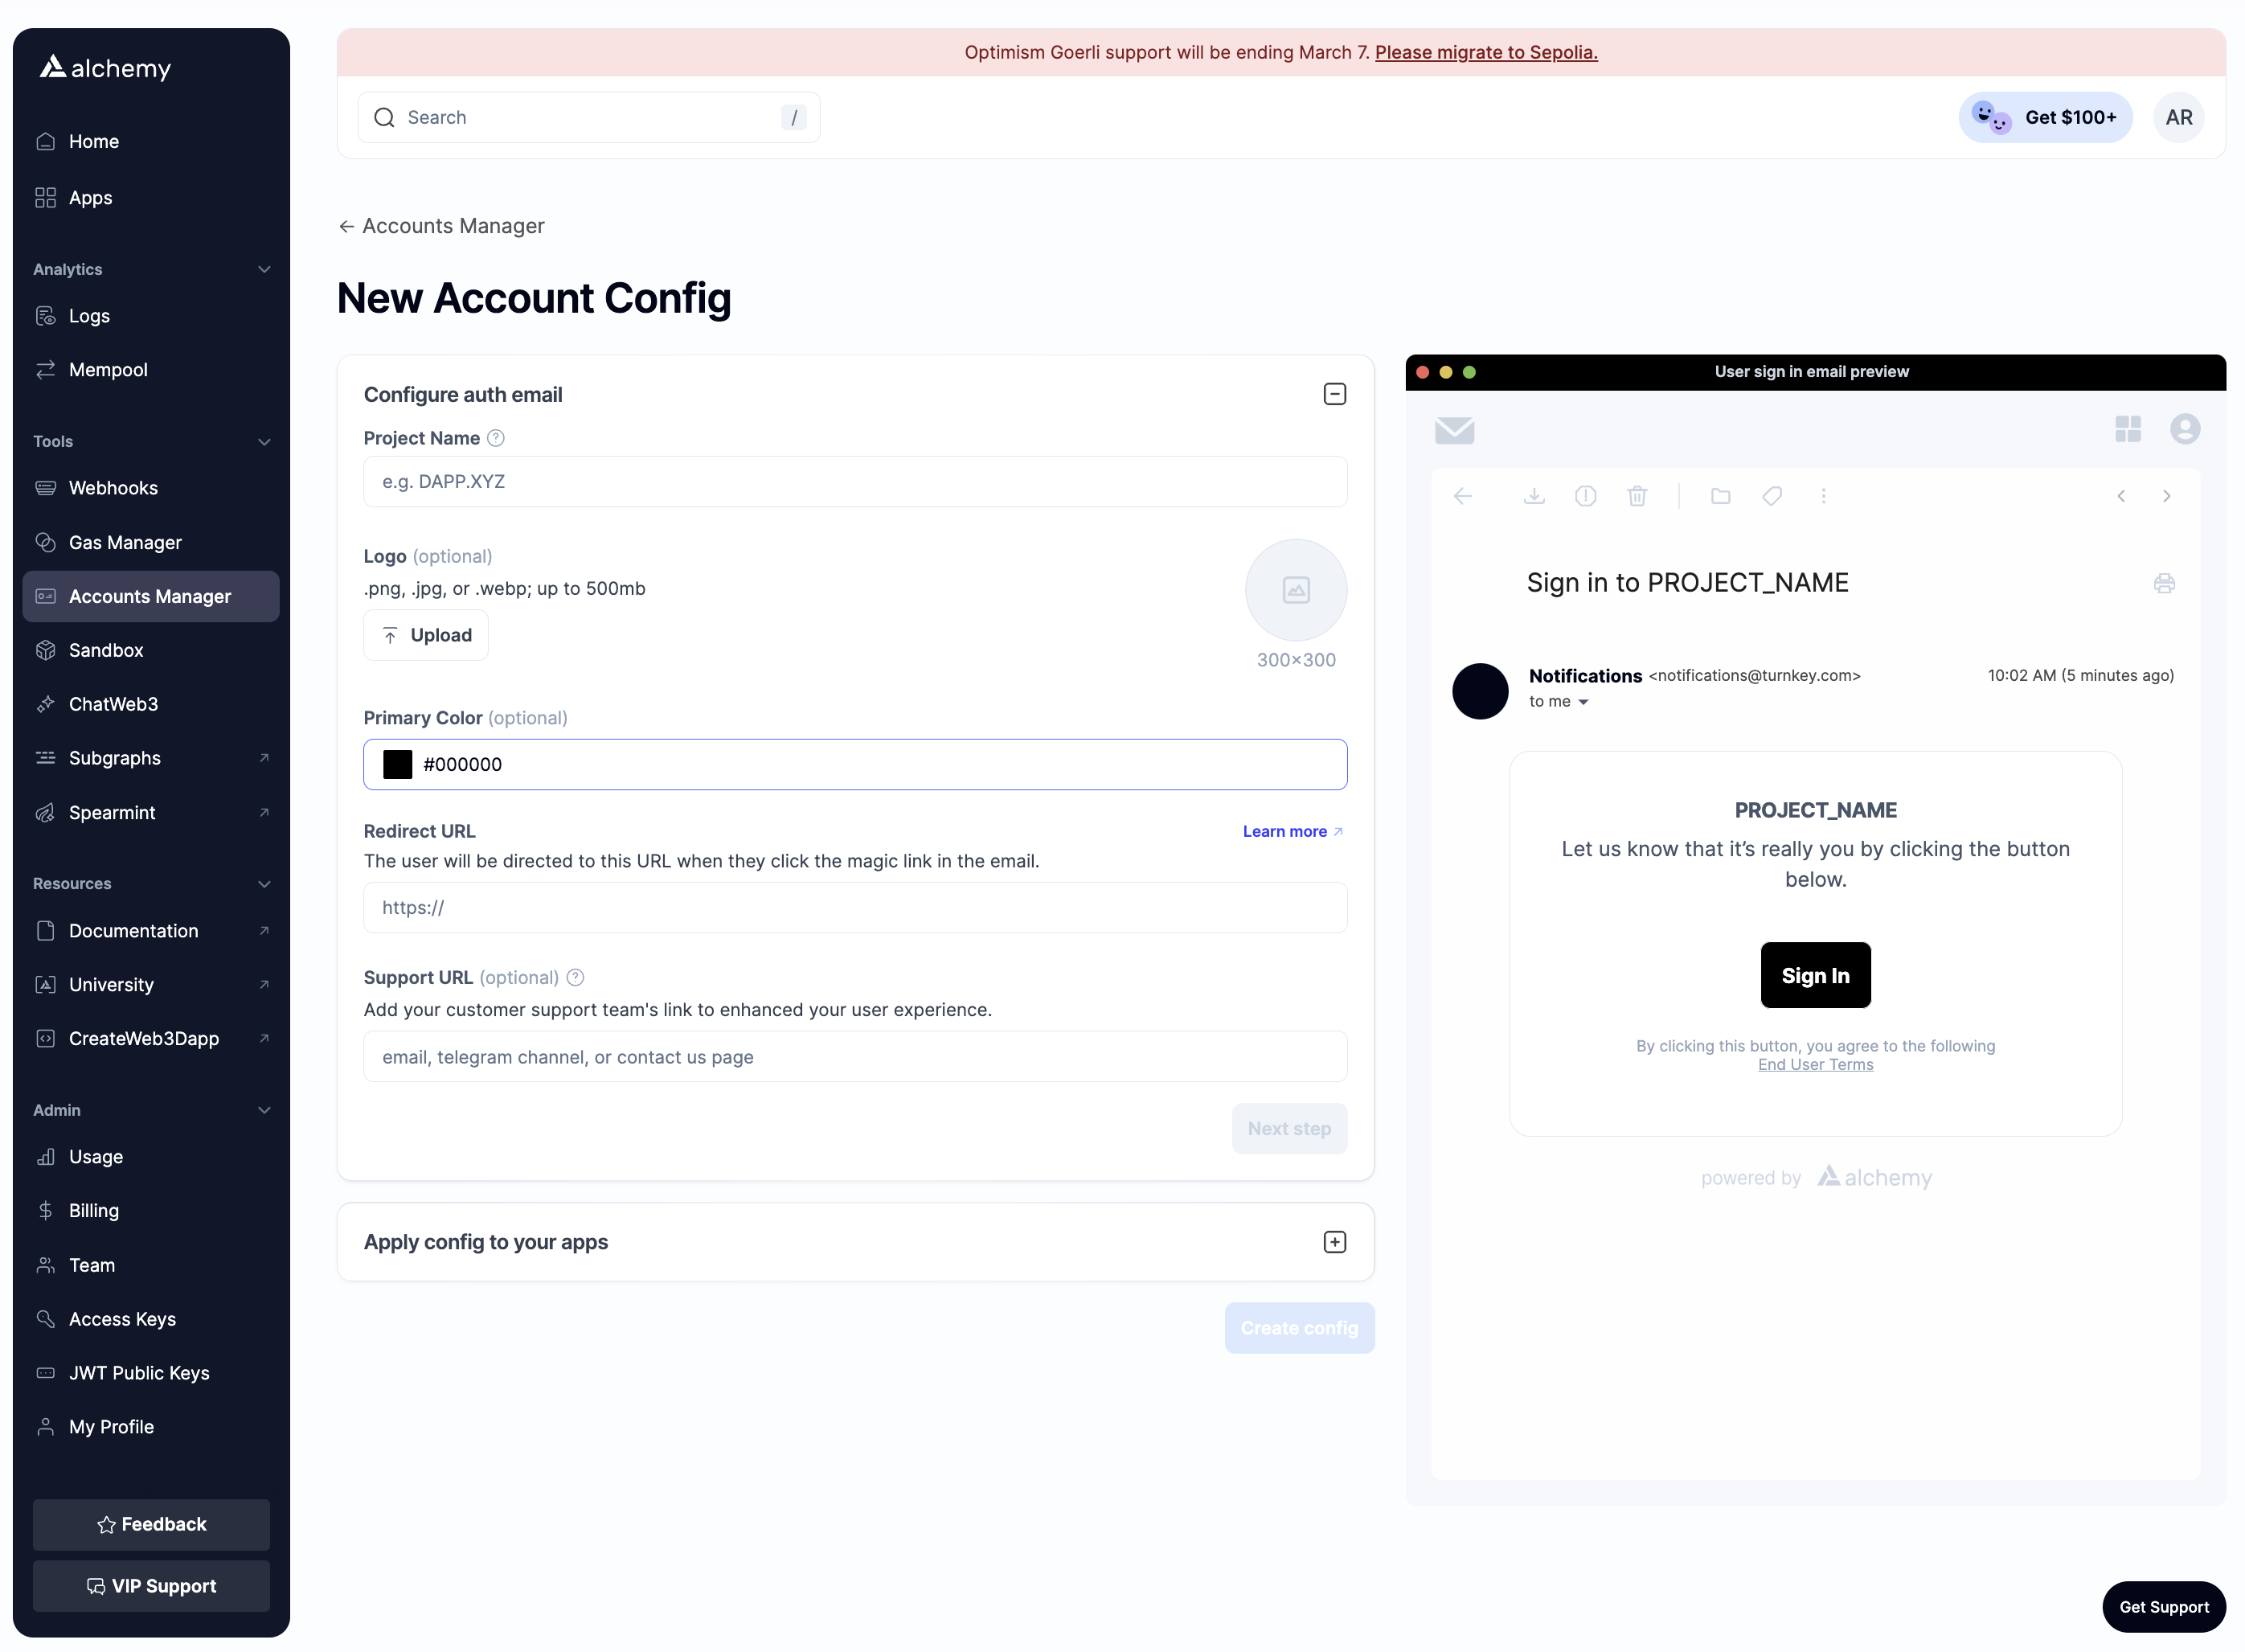
Create an account config
To use the Alchemy Signer, you will need to create a new account config in your Alchemy Accounts Manager Dashboard and connect this to your apps.
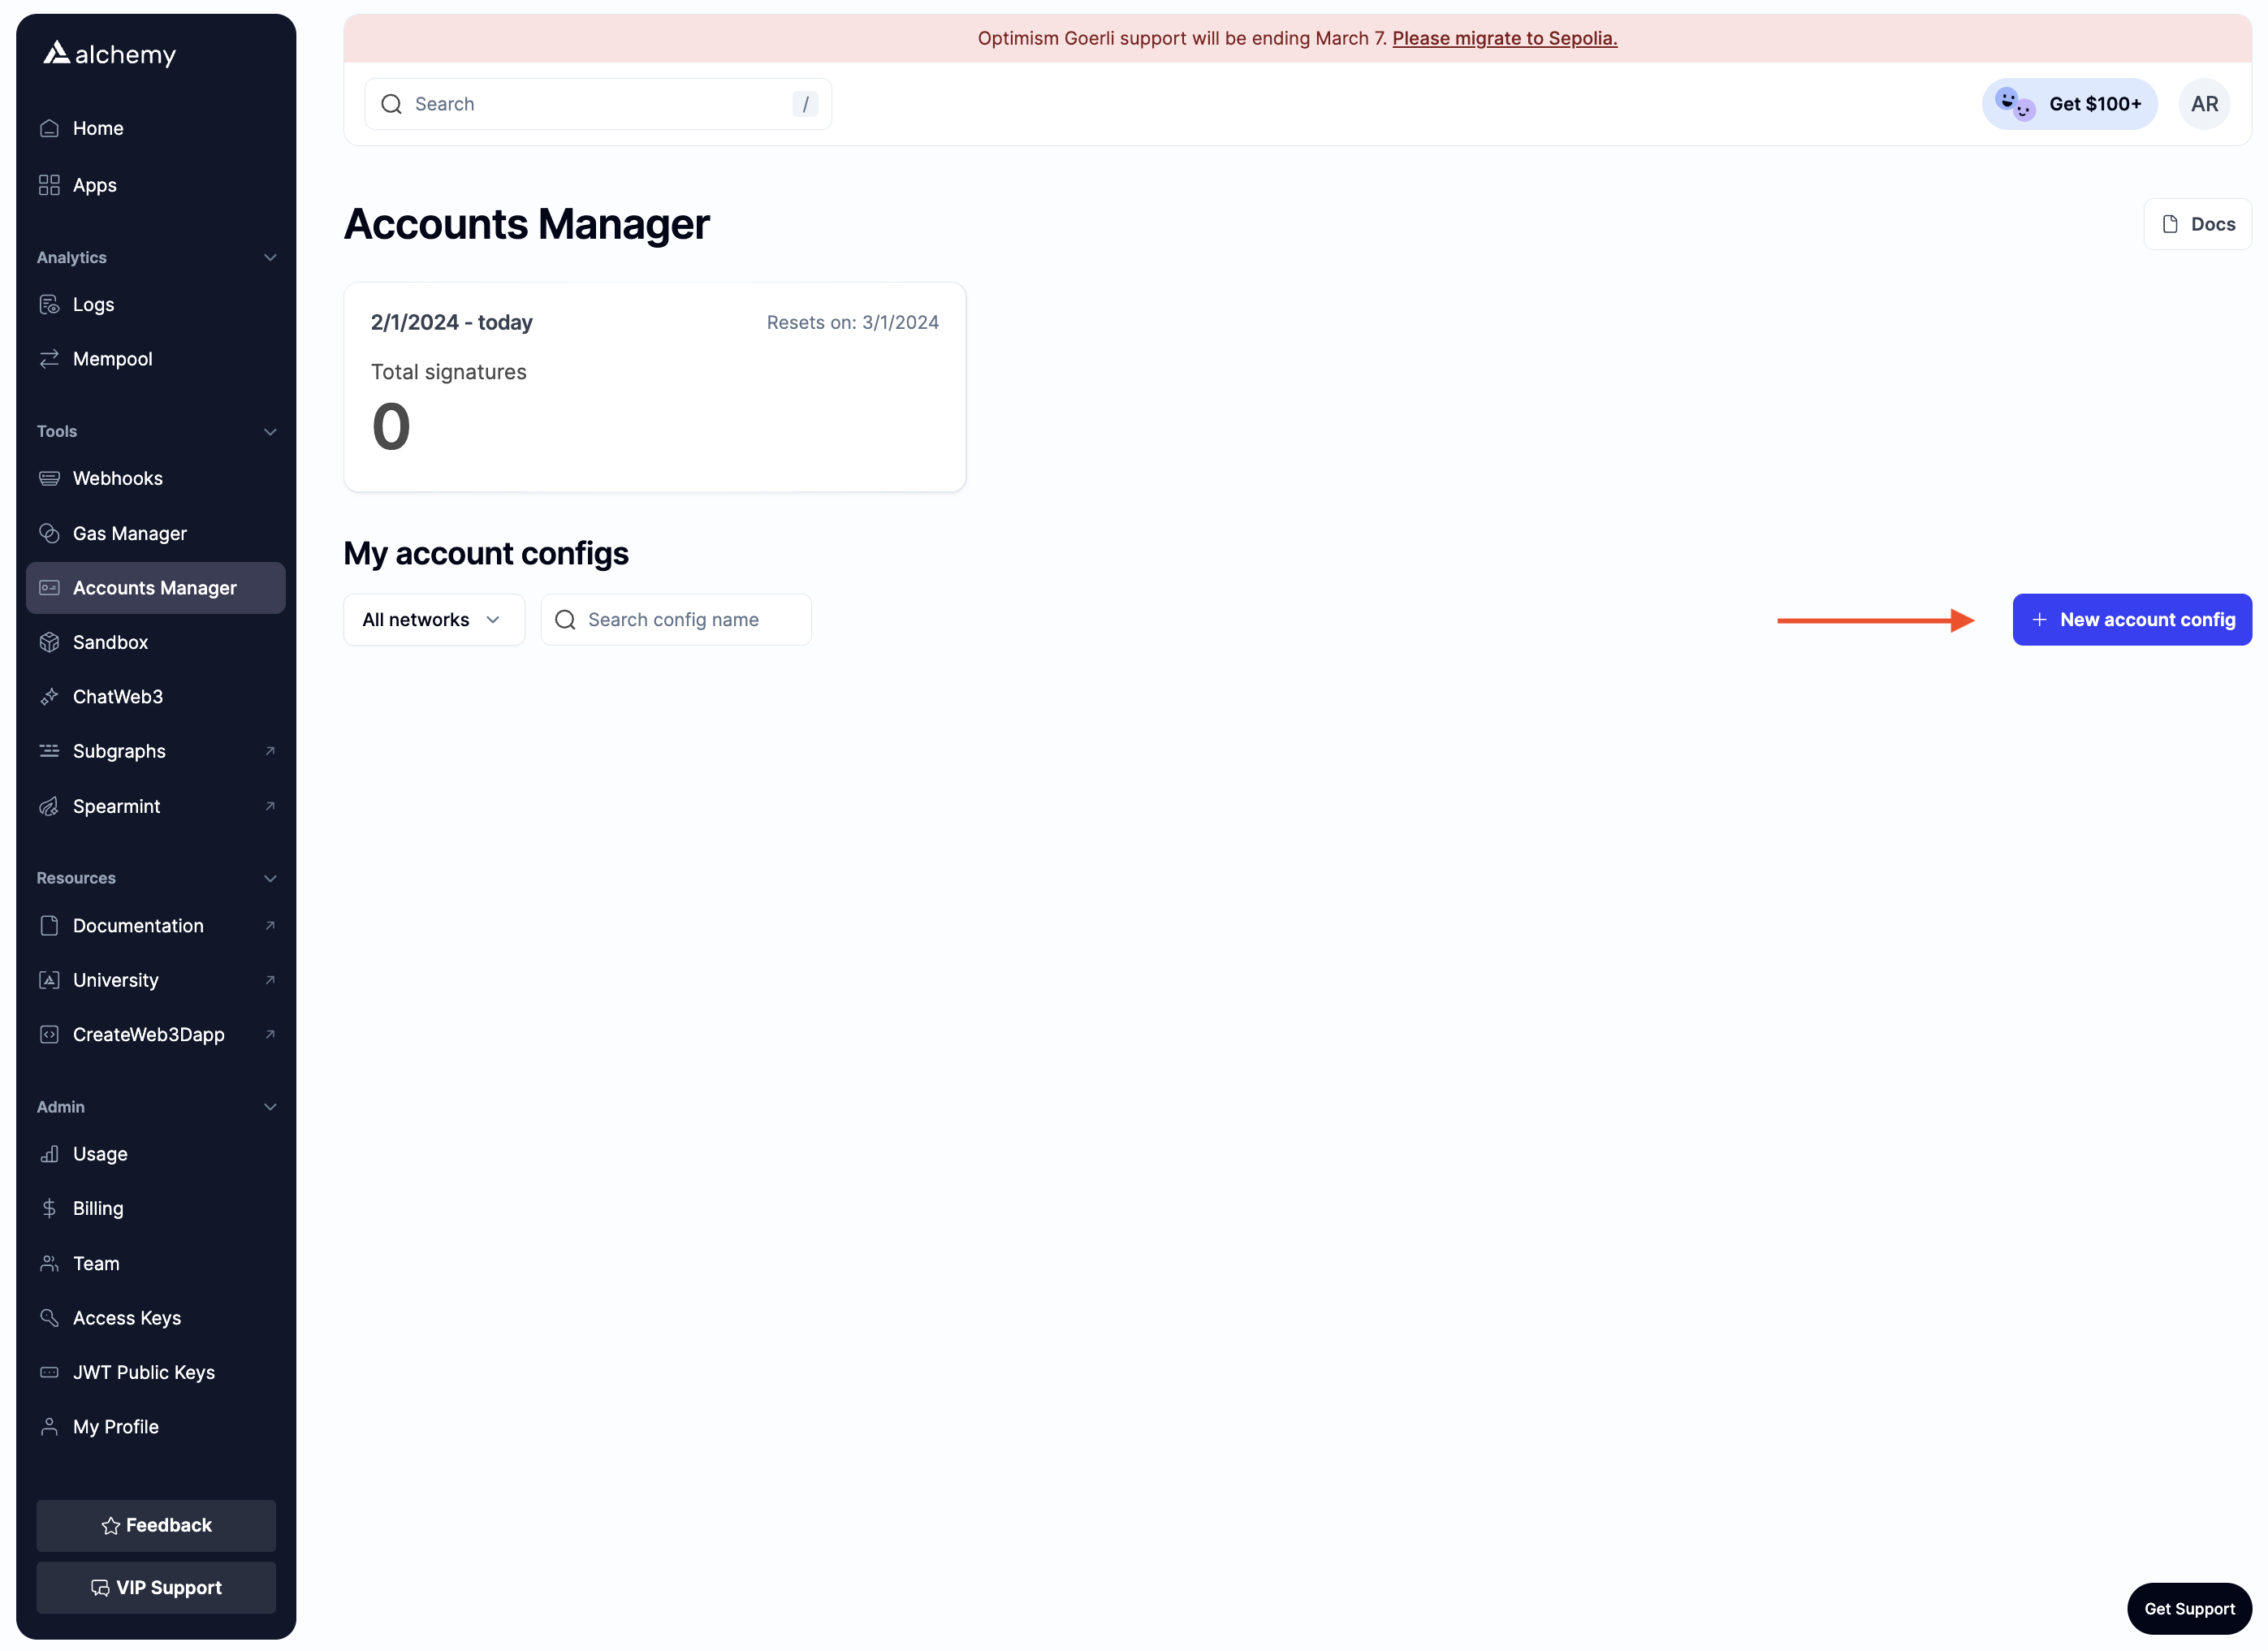
The account config allows you to customize the signup and login authentication email that will be sent to users when logging in to your dapp. Apply the config to one or more apps.
Creating an Alchemy Signer
Once you have been granted access to the Alchemy Signer, getting started is really simple. Install the @alchemy/aa-alchemy package and initialize your signer:
import { AlchemySigner } from "@alchemy/aa-alchemy";

export const signer = new AlchemySigner({
  client: {
    // This is created in your dashboard under `https://dashboard.alchemy.com/settings/access-keys`
    // NOTE: it is not recommended to expose your API key on the client, instead proxy requests to your backend and set the `rpcUrl`
    // here to point to your backend.
    connection: { apiKey: "alcht_<KEY>" },
    iframeConfig: {
      // you will need to render a container with this id in your DOM
      iframeContainerId: "turnkey-iframe-container",
    },
  },
});
For other configuration options, see the Alchemy Signer API Reference.
Ensure that the access key used corresponds to the apps connected to the account config created above.
Logging Users in
Once you have initialized your signer, you can now enable your users to create an account or login to their existing account.
import { AlchemySigner } from "@alchemy/aa-alchemy";
import { useMutation } from "@tanstack/react-query";
import { useEffect, useMemo, useState } from "react";

export const SignupLoginComponent = () => {
  const [email, setEmail] = useState<string>("");

  // It is recommended you wrap this in React Context or other state management
  const signer = useMemo(
    () =>
      new AlchemySigner({
        client: {
          connection: {
            jwt: "alcht_<KEY>",
          },
          iframeConfig: {
            iframeContainerId: "turnkey-iframe-container",
          },
        },
      }),
    []
  );

  // we are using react-query to handle loading states more easily, but feel free to use w/e state management library you prefer
  const { mutate: loginOrSignup, isLoading } = useMutation({
    mutationFn: (email: string) =>
      signer.authenticate({ type: "email", email }),
  });

  useEffect(() => {
    const urlParams = new URLSearchParams(window.location.search);
    if (urlParams.has("bundle")) {
      // this will complete email auth
      signer
        .authenticate({ type: "email", bundle: urlParams.get("bundle")! })
        // redirect the user or do w/e you want once the user is authenticated
        .then(() => (window.location.href = "/"));
    }
  }, [signer]);

  // The below view allows you to collect the email from the user
  return (
    <>
      {!isLoading && (
        <div>
          <input
            type="email"
            value={email}
            onChange={(e) => setEmail(e.target.value)}
          />
          <button onClick={() => loginOrSignup(email)}>Submit</button>
        </div>
      )}
      <div id="turnkey-iframe-container" />
    </>
  );
};
Once your signer is authenticated with a user, you can use it to sign User Operations by creating a SmartContractAccount and passing the signer to it.
Leveraging Persistent Sessions
By default the AlchemySigner leverages localStorage to cache user sessions for 15 minutes. This can be configured by passing in a sessionConfig to your AlchemySigner constructor.
You can check if a session exists by doing the following:
import { signer } from "./signer";

// NOTE: this method throws if there is no authenticated user
// so we return null in the case of an error
const user = await signer.getAuthDetails().catch(() => null);
If there is an existing session, then your signer is ready for use! If not, see the section above for logging users in.
Using the Signer with Smart Contract Accounts
Once your signer is authenticated with a user, you can use it to sign User Operations by creating a SmartContractAccount and passing the signer to it. For example:
import { signer } from "./signer";

export const account = await createMultiOwnerModularAccount({
  transport: rpcTransport,
  chain,
  signer,
});
Using the Signer as an EOA
Because the Alchemy Signer has its own address and supports signing messages as raw hashes, it is possible to use this signer as an EOA directly. To do so, you can adapt the AlchemySigner to your library of choice and leverage its signMessage, signTypedData, and signTransaction methods directly. The public address of the signer can be accessed via getAddress.
If you are using viem, then you can use the toViemAccount method which will allow you to use the signer with a WalletClient.
import { signer } from "./signer";
import { createWalletClient, http } from "viem";
import { sepolia } from "@alchemy/aa-core";

export const walletClient = createWalletClient({
  transport: http("alchemy_rpc_url"),
  chain: sepolia,
  account: signer.toViemAccount(),
});